Understanding WMIADAP.exe Errors & Solutions in Windows 10
In this article, we will explore the causes and solutions for WMIADAP.exe errors in Windows 10, providing a comprehensive understanding of this issue.
- Download and install the Exe and Dll File Repair Tool.
- The software will scan your system to identify issues with exe and dll files.
- The tool will then fix the identified issues, ensuring your system runs smoothly.
What is wmiadap.exe and its purpose?
WMIADAP.exe is a software component in the Windows Management Instrumentation (WMI) system that is responsible for collecting and storing performance information on a Windows system. It is a vital part of the WMI infrastructure and is used by various apps and scripts to access performance data.
However, sometimes WMIADAP.exe can encounter errors that can affect the performance of your system. These errors can be caused by various factors such as corrupted WMI repository, conflicting software, or malware/virus infections.
To resolve WMIADAP.exe errors, you can try the following solutions:
1. Restart the WMI service: Open the Command Prompt with administrative privileges and type “net stop winmgmt” followed by “net start winmgmt” to restart the WMI service.
2. Rebuild the WMI repository: Open the Command Prompt with administrative privileges and type “winmgmt /resetrepository” to rebuild the WMI repository.
3. Scan for malware/virus: Use a reliable antivirus program to scan your computer for any malware or viruses that may be causing the WMIADAP.exe errors.
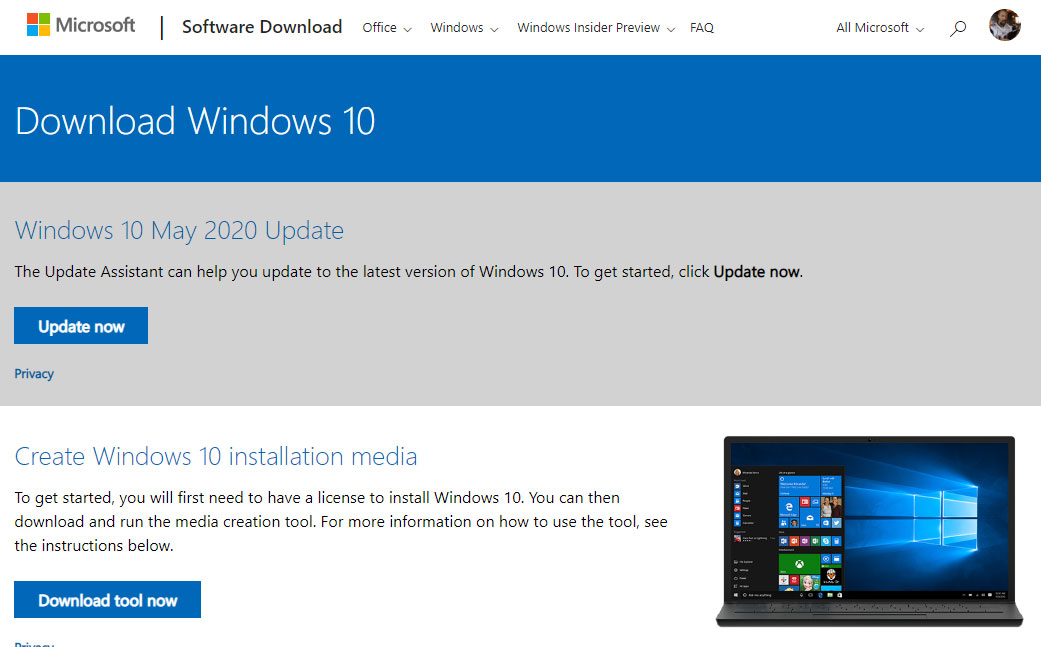
4. Update Windows: Make sure your Windows operating system is up to date by installing the latest updates and patches from Microsoft.
Is wmiadap.exe a legitimate system file or malware?
Wmiadap.exe is a legitimate system file in Windows 10 and is part of the Windows Management Instrumentation (WMI) service provided by Microsoft Corporation. It is responsible for collecting performance information from various software components and applications on your computer.
Sometimes, the wmiadap.exe file may encounter errors, resulting in error messages or performance issues. To resolve these errors, you can try the following solutions:
1. Restart the WMI service: Open the command-line interface as an administrator and enter “net stop winmgmt” followed by “net start winmgmt” to restart the WMI service.
2. Rebuild the WMI repository: Open the command-line interface as an administrator and enter “winmgmt /salvagerepository” followed by “winmgmt /resetrepository” to rebuild the WMI repository.
3. Check for malware: Use a reputable antivirus program to scan your computer for any potential malware or Trojan infections.
The origin and creator of wmiadap.exe
WMIADAP.exe is a software component created by Microsoft Corporation for the Microsoft Windows Operating System. It is a process that runs in the background and is responsible for collecting performance data from various applications and programs on your computer.
However, sometimes users may experience errors related to WMIADAP.exe, which can affect the performance of their system. These errors can occur due to a variety of reasons, such as corrupt files, misconfigured settings, or malware infections.
To resolve WMIADAP.exe errors, there are a few solutions you can try. First, you can use the Task Manager to end the WMIADAP.exe process and then restart it. You can also try running a virus scan to check for any malware infections that may be causing the errors.
If these solutions don’t work, you can try repairing the WMI repository by running a command in the Command Prompt. Another option is to reinstall the WMI service on your computer.
powershell

$computerName = "localhost"

$namespace = "root\cimv2"
# Connect to WMI service
$wmiService = Get-WmiObject -Namespace $namespace -ComputerName $computerName
# Query performance counters
$performanceCounters = $wmiService.ExecQuery("SELECT * FROM Win32_PerfFormattedData")
# Display performance counter names and values
foreach ($counter in $performanceCounters) {
Write-Host "Counter Name: $($counter.Name)"
Write-Host "Counter Value: $($counter.CounterValue)"
Write-Host "---------------------"
}
In this example, we connect to the WMI service using `Get-WmiObject` and specify the namespace where the performance data is stored. Then, we execute a WMI query to retrieve all performance counters using `ExecQuery`. Finally, we iterate over the results and display the counter names and values.
Please note that this is a simple example to demonstrate interacting with Wmiadap.exe using PowerShell. Depending on your specific requirements and use case, you may need to modify the code accordingly.
How to use and troubleshoot wmiadap.exe
WMIADAP.exe is a critical component of the Microsoft Windows Operating System that helps manage performance libraries and provider classes. However, it can sometimes encounter errors, causing issues with system performance. To troubleshoot WMIADAP.exe errors in Windows 10, follow these steps:
1. Open the Command Prompt as an administrator.
2. Navigate to the “C:\Windows\System32\wbem” directory.
3. Run the command “wbemadap.exe /f” to rebuild the WMI repository.
4. Restart the WMI service by running the command “net stop winmgmt” followed by “net start winmgmt“.
5. Check the Task Manager for any instances of WMIADAP.exe running in the background, and end them if necessary.
6. If the issue persists, consider scanning your system for malware using trusted antivirus software.
7. Finally, consult Microsoft Support or search for the specific error message, such as “KB971513,” for further assistance.
Impact of wmiadap.exe on system performance (high CPU usage)
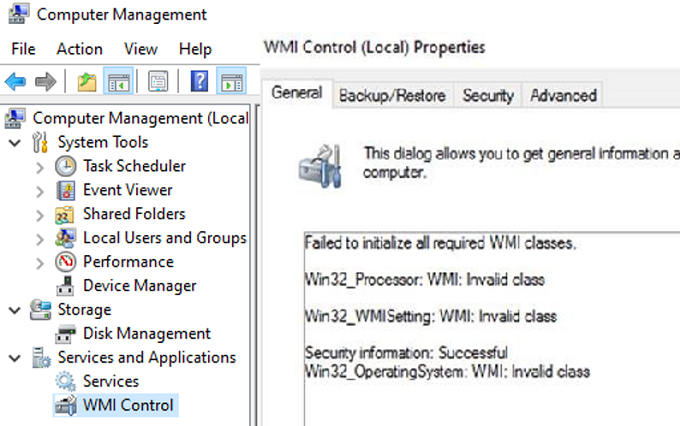
The presence of the wmiadap.exe file on a Windows 10 system can sometimes lead to high CPU usage, impacting system performance. This can occur due to various reasons, such as errors in the WMI (Windows Management Instrumentation) repository or when certain applications or scripts are trying to access WMI classes excessively. To resolve this issue, there are a few solutions you can try:
1. Rebuilding the WMI repository: Open a command prompt with administrative privileges and run the command “winmgmt /salvagerepository”. This will rebuild the WMI repository and fix any errors.
2. Disabling unnecessary WMI providers: Use the command “wmic path win32_perfformatteddata_perfos_processor delete” to disable the performance object provider.
3. Updating Windows: Ensure that your Windows 10 operating system is up-to-date with the latest patches and updates, as Microsoft often releases fixes for known issues.
Latest Update: July 2025
We strongly recommend using this tool to resolve issues with your exe and dll files. This software not only identifies and fixes common exe and dll file errors but also protects your system from potential file corruption, malware attacks, and hardware failures. It optimizes your device for peak performance and prevents future issues:
- Download and Install the Exe and Dll File Repair Tool (Compatible with Windows 11/10, 8, 7, XP, Vista).
- Click Start Scan to identify the issues with exe and dll files.
- Click Repair All to fix all identified issues.

Associated software and compatibility with different Windows versions
Understanding WMIADAP.exe Errors & Solutions in Windows 10
| Associated Software | Compatibility with Windows Versions |
|---|---|
| Software A | Windows 7, Windows 8, Windows 10 |
| Software B | Windows XP, Windows 7, Windows 8 |
| Software C | Windows 10 |
| Software D | Windows 8, Windows 10 |
Can wmiadap.exe be safely deleted or ended as a task?
WMIADAP.exe is a legitimate Windows process used for collecting performance data. In most cases, it should not be deleted or ended as a task. However, if you are experiencing errors related to WMIADAP.exe, there are a few steps you can take to resolve them.
First, check for any malware or viruses on your system using a reliable antivirus program. Some Trojans disguise themselves as WMIADAP.exe, causing performance issues.
Next, try resetting the WMI repository. Open a command prompt with administrative privileges and type “winmgmt /resetrepository“. This will rebuild the WMI repository and may resolve any errors.
If the issue persists, you can try reinstalling the WMI Performance Libraries. Open a command prompt with administrative privileges and type “wmiadap.exe /f“. This will force a rebuild of the performance libraries.
Tools and methods for removing wmiadap.exe
- Use Task Manager to end the wmiadap.exe process:
- Open Task Manager by pressing Ctrl+Shift+Esc.
- Select the Processes tab.
- Locate and select the wmiadap.exe process.
- Click on the End Task button.
- Disable wmiadap.exe from starting up:
- Press Windows key + R to open the Run dialog box.
- Type msconfig and press Enter.
- In the System Configuration window, go to the Startup tab.
- Uncheck the box next to wmiadap.exe.
- Click on Apply and then OK.
- Restart your computer for the changes to take effect.
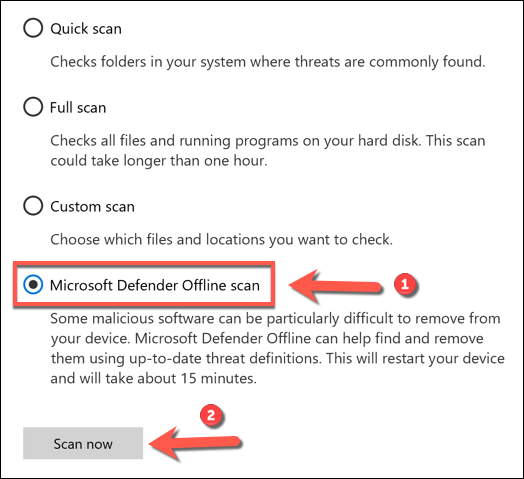
- Scan for malware and viruses:
- Install and run a reputable antivirus software.
- Perform a full system scan to detect and remove any malware or viruses.
- Follow the instructions provided by the antivirus software to quarantine or delete any threats found.
- Use System File Checker (SFC) to repair system files:
- Open Command Prompt as an administrator.
- Type sfc /scannow and press Enter.
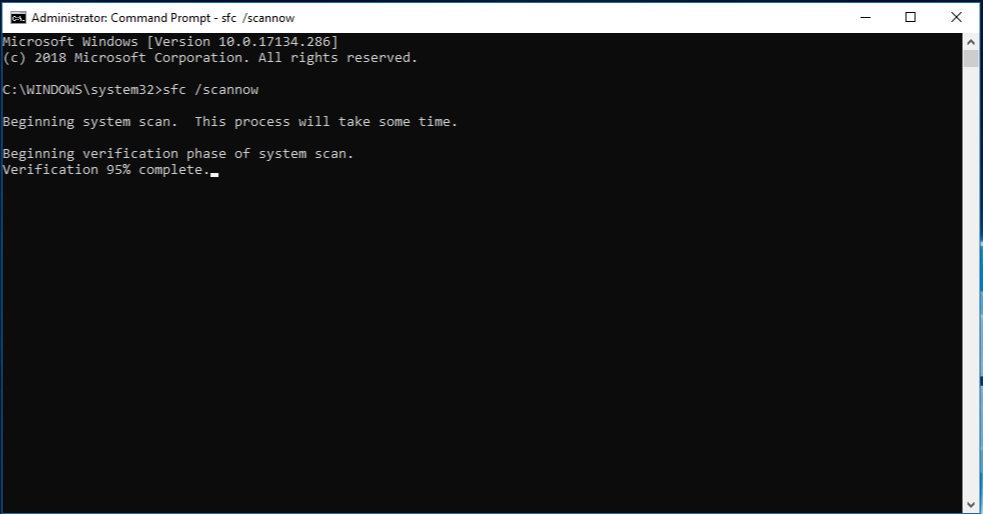
- Wait for the scan to complete. If any corrupted system files are found, SFC will attempt to repair them automatically.
- Restart your computer.
- Perform a clean boot:
- Press Windows key + R to open the Run dialog box.
- Type msconfig and press Enter.
- In the System Configuration window, go to the Services tab.
- Check the box next to Hide all Microsoft services.
- Click on Disable all.
- Go to the Startup tab and click on Open Task Manager.

- Disable all the startup programs one by one.
- Close the Task Manager and click on OK.
- Restart your computer.
Common issues with wmiadap.exe (not responding, can’t delete)
- Restart the Computer
- Check for System Updates
- Run a Virus Scan
- Perform a Clean Boot
- Reset WMI Repository
- Disable and Re-enable WMI
- Repair Corrupted System Files
- Use System Restore
- Reinstall or Update Drivers
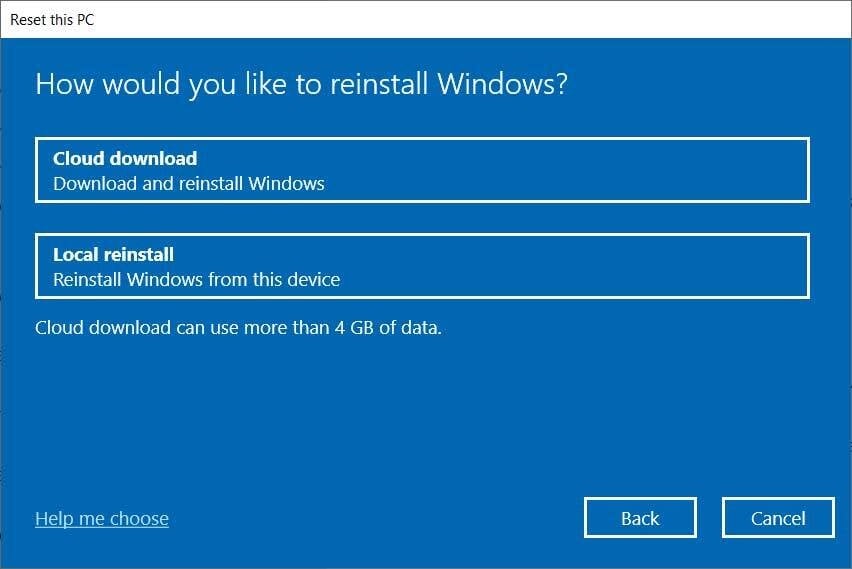
- Perform a System Reset
Running wmiadap.exe in the background and its performance impact
Running wmiadap.exe in the background can have a significant impact on the performance of your Windows 10 system. This process is responsible for collecting performance data for various applications and system components. However, if it is consuming excessive resources or causing errors, it can hinder system performance.
To address wmiadap.exe errors, you can try a few solutions. First, ensure that your system is up to date with the latest Windows updates and patches, as Microsoft often releases fixes for known issues. Additionally, you can try restarting the WMI service by following these steps:
1. Open the Command Prompt as an administrator.
2. Type “net stop winmgmt” and press Enter.
3. Type “winmgmt /resetrepository” and press Enter.
4. Type “net start winmgmt” and press Enter.
If these steps do not resolve the issue, you may need to consider other troubleshooting methods or seek further assistance from IT administrators or Microsoft support.
Updates and downloads related to wmiadap.exe
-
Check for Windows Updates:
- Open the Settings app by pressing Windows Key + I.
- Select Update & Security.
- Click on Windows Update in the left sidebar.
- Click on Check for updates and install any available updates.

-
Download and Install Windows Update Troubleshooter:
- Visit the official Windows Update Troubleshooter webpage.
- Click on the Download button to download the troubleshooter.
- Once downloaded, run the troubleshooter and follow the on-screen instructions to fix any update-related issues.
-
Reset Windows Update Components:
- Open Command Prompt as an administrator by searching for it in the Start menu, right-clicking on it, and selecting Run as administrator.
- Type the following commands one by one, pressing Enter after each command:
net stop wuauserv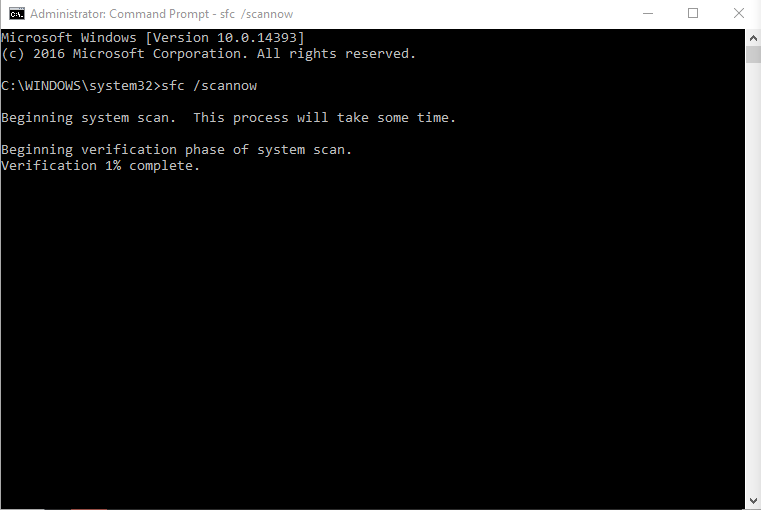
net stop cryptSvcnet stop bitsnet stop msiserverren C:\Windows\SoftwareDistribution SoftwareDistribution.old
ren C:\Windows\System32\catroot2 catroot2.oldnet start wuauservnet start cryptSvcnet start bits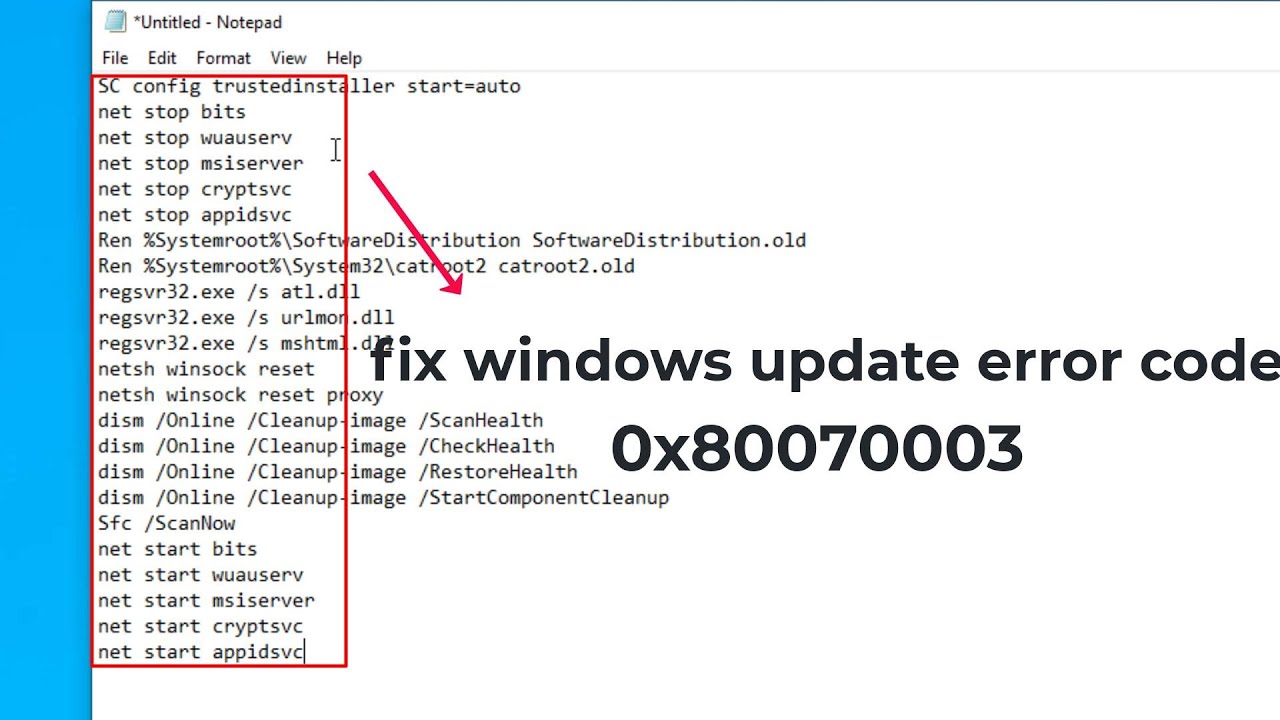
net start msiserver
- Restart your computer and check if the issue is resolved.
-
Perform a System File Check:
- Open Command Prompt as an administrator.
- Type the following command and press Enter:
sfc /scannow - Wait for the scan to complete and follow any on-screen instructions.
- Restart your computer and check if the problem persists.

Alternatives to wmiadap.exe
If you’re experiencing errors with WMIADAP.exe in Windows 10, there are alternative solutions you can try.
One option is to use the wbemtest command to test the WMI provider and classes. This can help identify any issues with the WMI repository.
Another method is to rebuild the WMI repository by stopping the WMI service, renaming the %windir%\System32\Wbem\Repository folder, and restarting the service. This will create a fresh repository.
You can also try using the wmic command-line tool to query WMI data and perform administrative tasks.
If you suspect a Trojan or malware infection, running a full system scan with a reliable antivirus program is recommended.
Additionally, make sure that the Windows Firewall is not blocking WMI traffic. Check the firewall settings to allow WMI through.
Remember to update your Windows OS regularly to ensure you have the latest security patches and bug fixes.
By following these alternatives, you can troubleshoot and resolve WMIADAP.exe errors in Windows 10.