What is ruximics.exe? Windows 10 program folder, virus or error?
Welcome to this informative article, where we dive into the realm of ruximics.exe, exploring its true nature within the enigmatic world of Windows 10. Unraveling mysteries, we will decipher whether it is a benign program folder, an unwelcome virus, or simply an innocent error. Join us as we embark on this intriguing journey of discovery.
- Download and install the Exe and Dll File Repair Tool.
- The software will scan your system to identify issues with exe and dll files.
- The tool will then fix the identified issues, ensuring your system runs smoothly.
Introduction to ruximics.exe
Ruximics.exe is a program file found in the C:\Program Files folder of Windows 10. It is associated with the UX Interaction Manager, a product developed by Microsoft Corporation. Despite some confusion and speculation, ruximics.exe is not a virus or error. It is a legitimate program file used by Windows and should not be deleted or tampered with. If you are experiencing difficulties or error messages related to ruximics.exe, it is likely caused by other factors such as a driver issue or low CPU/memory resources. To troubleshoot such issues, you can check the Control Panel for any conflicting programs, update your drivers using software like DriverIdentifier or DriverDouble.com, and run a malware scan using tools like VirusTotal. Remember to exercise caution when downloading any files with similar names, as malware can sometimes be disguised under a different filename.
Is ruximics.exe Safe to Use?
Ruximics.exe is a program file found in the C:\Program Files folder on Windows 10. It is not a virus or error, but rather a legitimate component of the Microsoft Windows Operating System. Ruximics.exe is the filename for the Reusable UX Interaction Manager, a product developed by Microsoft Corporation.
If you are experiencing difficulties or receiving error messages related to ruximics.exe, it is recommended to take the following troubleshooting steps:
1. Check for any driver issues on your PC using tools like DriverIdentifier or DriverDouble.com.
2. Scan the ruximics.exe file using VirusTotal to ensure it is not infected.
3. Verify the version information of ruximics.exe through its properties in the Control Panel.
4. If necessary, seek further assistance from Microsoft or post a question on forums like Reddit for expert advice.
Latest Update: July 2025
We strongly recommend using this tool to resolve issues with your exe and dll files. This software not only identifies and fixes common exe and dll file errors but also protects your system from potential file corruption, malware attacks, and hardware failures. It optimizes your device for peak performance and prevents future issues:
- Download and Install the Exe and Dll File Repair Tool (Compatible with Windows 11/10, 8, 7, XP, Vista).
- Click Start Scan to identify the issues with exe and dll files.
- Click Repair All to fix all identified issues.

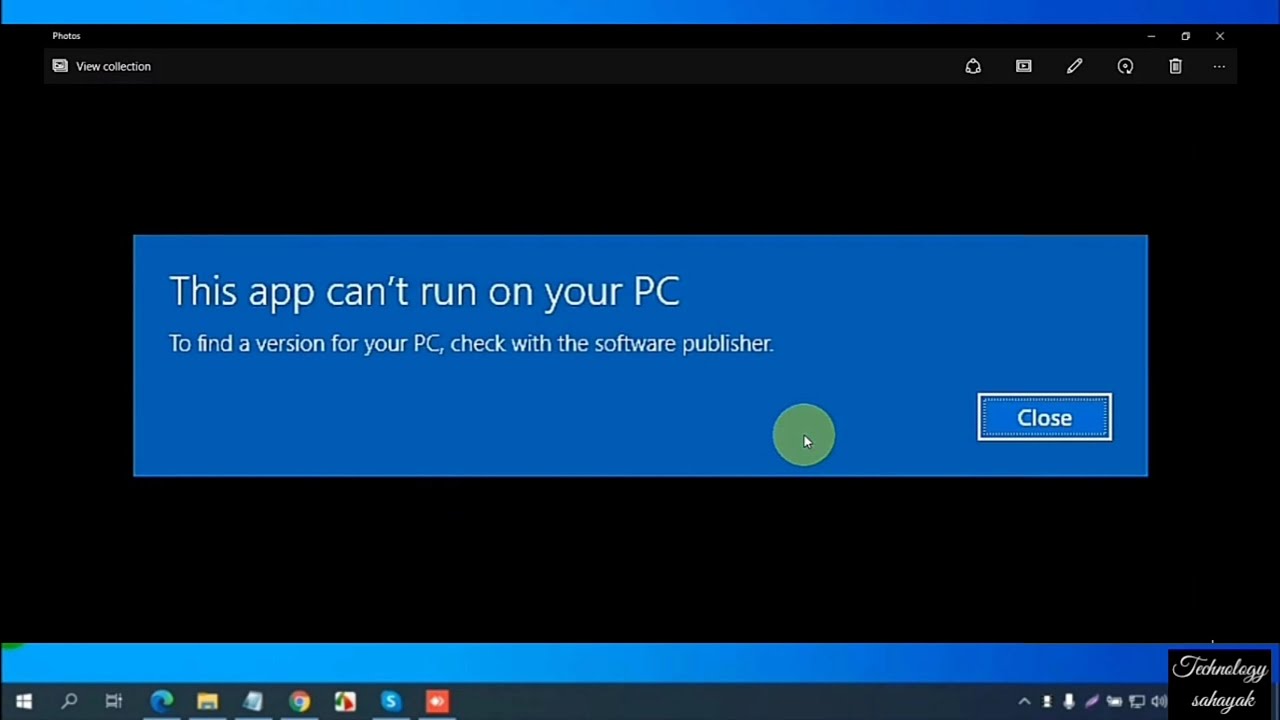
Common Errors Associated with ruximics.exe
- Program not responding
- High CPU usage

- Application crashes or freezes
- Error messages related to ruximics.exe
Repair Steps:
- Check for Malware or Viruses
- Open Windows Security by pressing Windows key + I.
- Click on Update & Security.
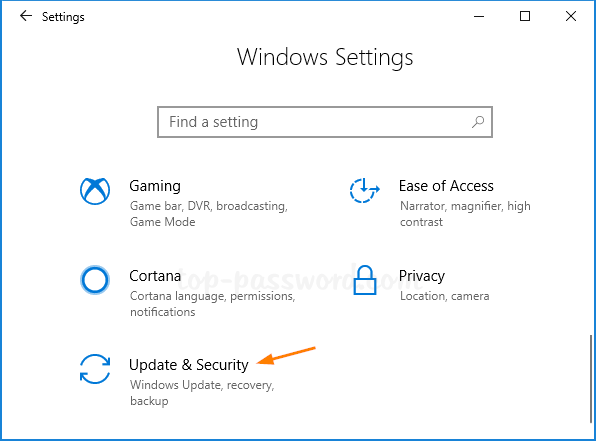
- Select Windows Security from the left-hand menu.
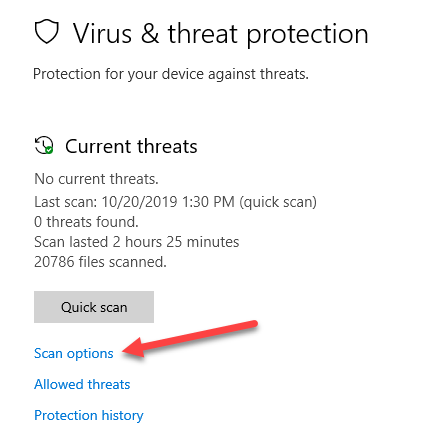
- Click on Virus & Threat Protection.
- Choose Quick Scan to scan for malware or viruses.
- If any threats are found, follow the recommended actions to remove them.
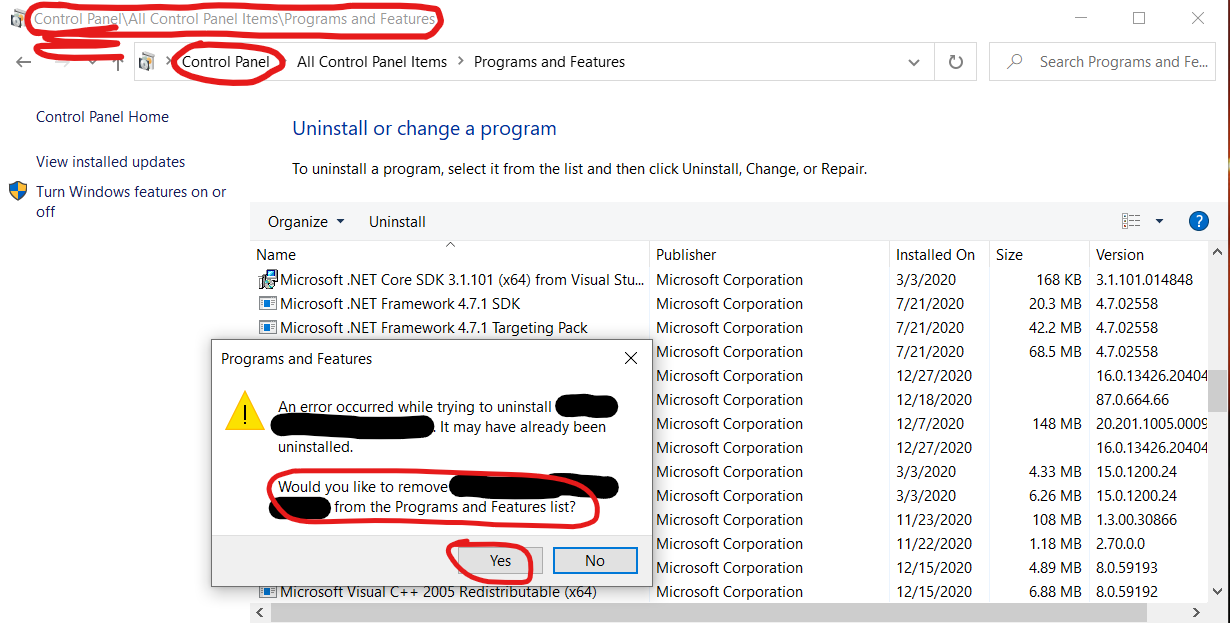
- Update or Reinstall ruximics.exe
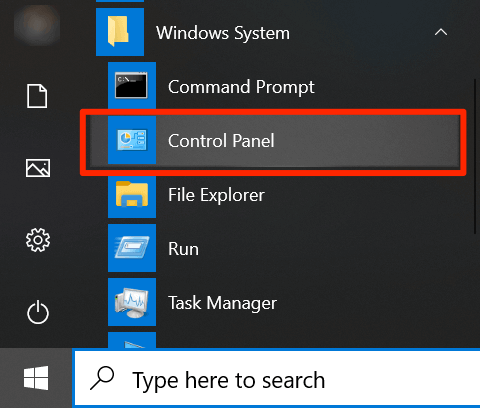
- Open Windows Start Menu.
- Type Control Panel and open it.
- Select Programs and then Programs and Features.
- Locate ruximics.exe in the list of installed programs.
- Right-click on it and choose Update or Uninstall.
- If updating, follow the on-screen instructions to complete the process.

- If uninstalling, restart the computer and then reinstall ruximics.exe from a trusted source.
- Check for System File Corruption
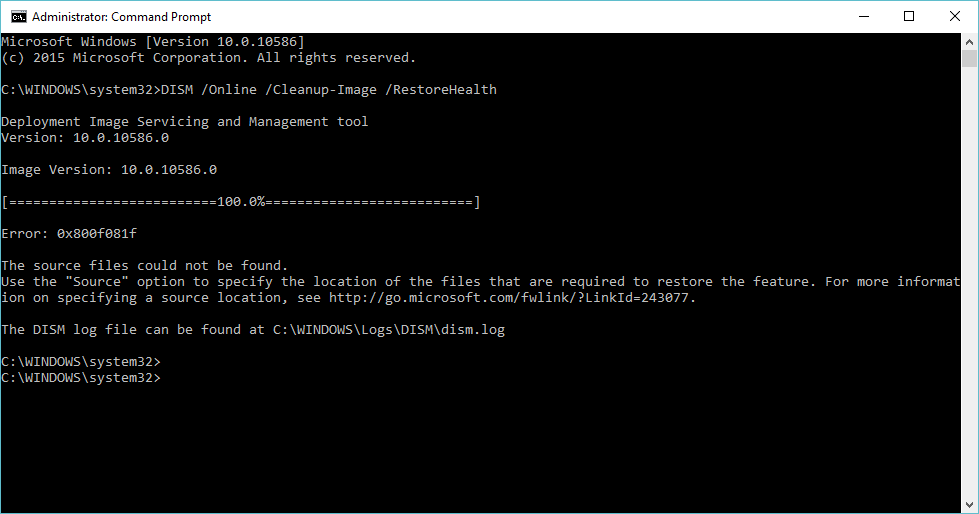
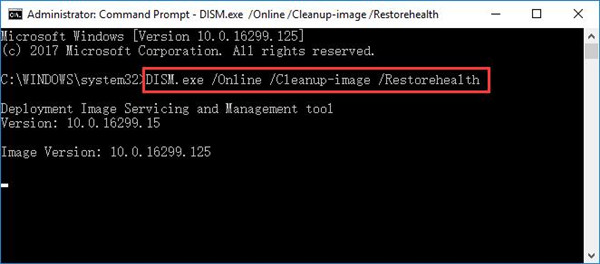
- Open Command Prompt as an administrator by pressing Windows key + X and selecting Command Prompt (Admin).
- Type sfc /scannow and press Enter.
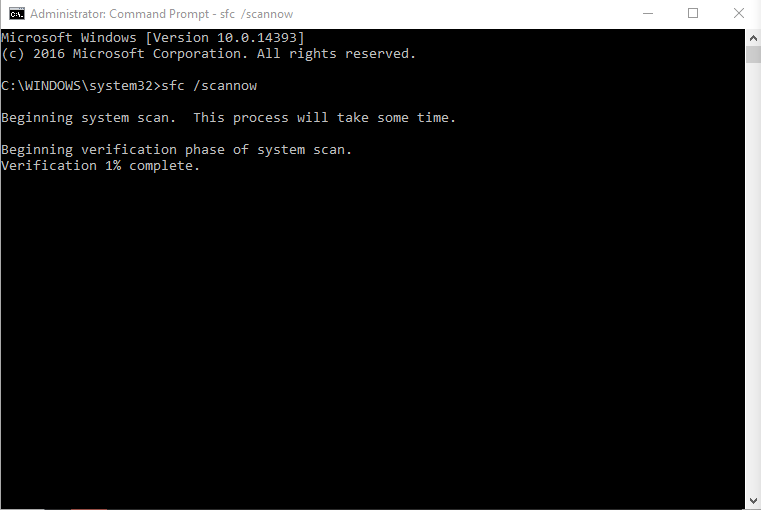
- Wait for the system file checker to scan and repair any corrupted files.
- Restart the computer after the process is complete.
- Perform a Clean Boot
- Open Task Manager by pressing Ctrl+Shift+Esc.
- Click on the Startup tab.
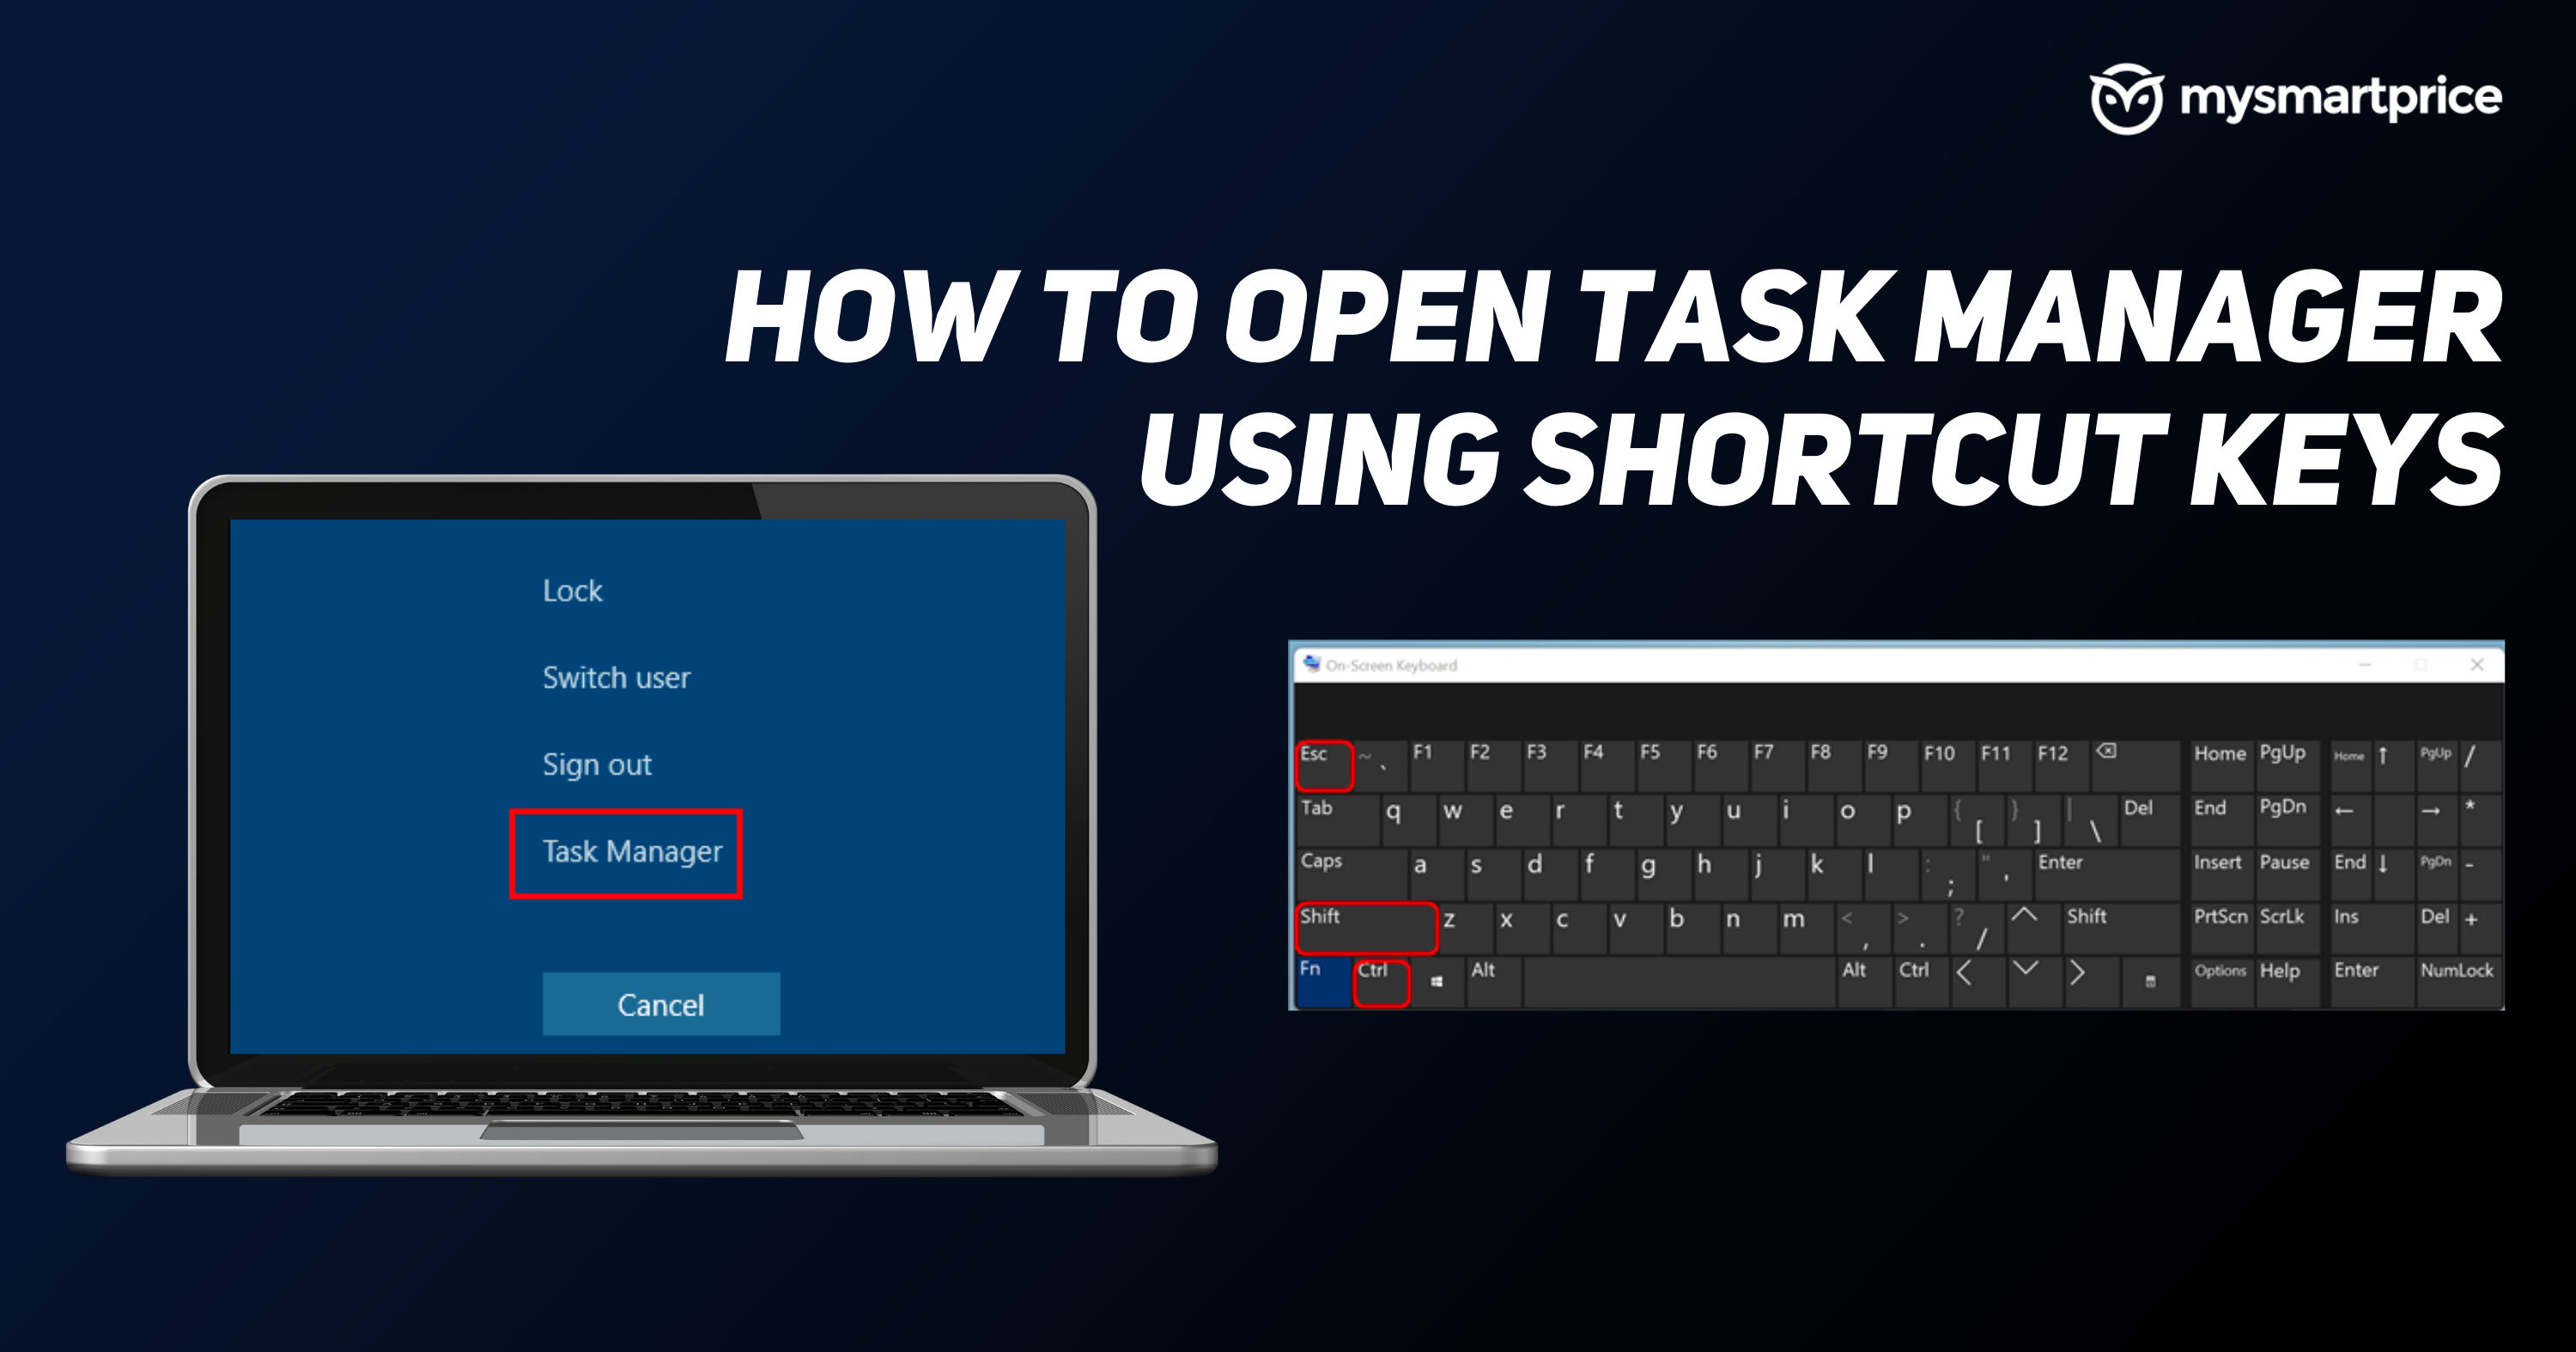
- Click on Open Task Manager at the bottom of the window.
- Select each startup item and click on Disable.
- Close the Task Manager.
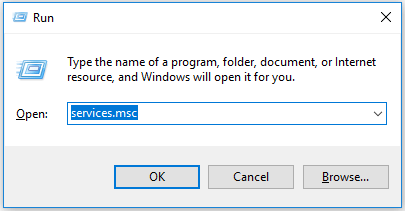
- Press Windows key + R to open the Run dialog box.
- Type msconfig and press Enter.
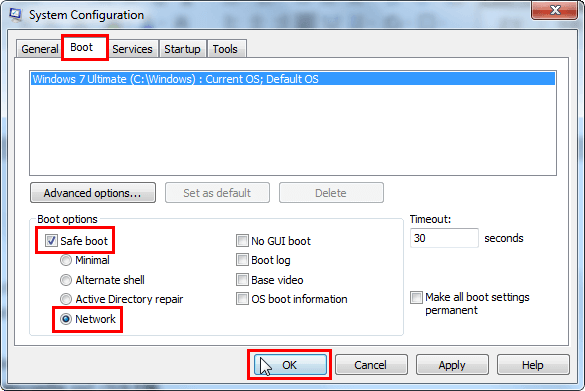
- In the System Configuration window, click on the Services tab.

- Check the box that says Hide all Microsoft services.
- Click on Disable All.

- Click on Apply and then OK.
- Restart the computer and check if ruximics.exe is working properly.
- Update Windows and Drivers
- Open Windows Settings by pressing Windows key + I.
- Click on Update & Security.
- Select Windows Update from the left-hand menu.
- Click on Check for updates.
- If any updates are available, click on Download and install.
- Wait for the updates to be installed and then restart the computer.
- To update drivers, open Device Manager by pressing Windows key + X and selecting Device Manager.
- Expand the categories and right-click on each device.
- Choose Update driver and follow the on-screen instructions.
- Restart the computer after updating all necessary drivers.
How to Repair or Remove ruximics.exe
If you suspect that ruximics.exe is causing issues on your Windows 10 PC, it’s important to determine whether it is a legitimate program or a virus. To repair or remove ruximics.exe, follow these steps:
1. Identify the file: Check the location of the ruximics.exe file on your system. If it is located in the Windows\System32 folder, it is likely a legitimate program. However, if it is found in a different location, it could be a virus.
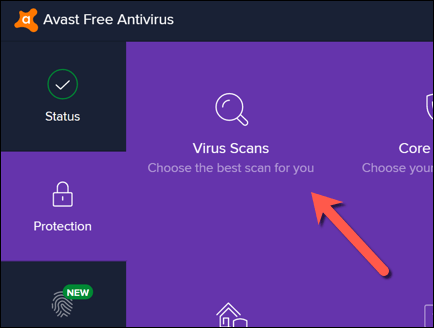
2. Scan for viruses: Run a full system scan using a reliable antivirus program to check for any malware or viruses associated with ruximics.exe.
3. Remove or repair: If ruximics.exe is confirmed to be a virus, follow your antivirus software’s instructions to remove it. If it is a legitimate program causing errors, try repairing it by following these steps:
– Open the Task Manager by pressing Ctrl + Shift + Esc.
– Go to the “Processes” tab and find ruximics.exe.
– Right-click on it and select “End Task” to stop the process.
– Navigate to the ruximics.exe file location and rename or delete it.
– Restart your computer to see if the issue is resolved.
Remember to always exercise caution when dealing with unknown files, and if you’re unsure, seek help from a professional or consult online forums like Reddit for further guidance.
User Experiences and Recommendations for ruximics.exe
- Run a virus scan
- Open your preferred antivirus software
- Select the option to run a full system scan
- Wait for the scan to complete
- If any viruses or malware are detected, follow the antivirus software’s instructions to remove them
- Check for system errors
- Press Windows Key + R to open the Run dialog box
- Type eventvwr.msc and hit Enter
- In the Event Viewer window, expand the “Windows Logs” folder
- Click on “Application” or “System” to view the log
- Look for any error messages related to ruximics.exe
- If errors are found, try to troubleshoot or fix them based on the provided information
- Update or reinstall ruximics.exe
- Visit the official website or trusted source where you obtained ruximics.exe
- Search for the latest version of the program
- If an update is available, download and install it
- If ruximics.exe was installed from an unknown or unreliable source, consider uninstalling it
- To uninstall, open Control Panel and go to Programs and Features
- Locate ruximics.exe in the list of installed programs
- Select it and click on Uninstall
- Follow the on-screen prompts to complete the uninstallation
- Restart your computer
- If necessary, reinstall ruximics.exe from a trusted source
- Perform a clean boot
- Press Windows Key + R to open the Run dialog box
- Type msconfig and hit Enter
- In the System Configuration window, go to the “Services” tab
- Check the box that says “Hide all Microsoft services”
- Click on “Disable all”
- Go to the “Startup” tab

- Click on “Open Task Manager”
- In the Task Manager window, disable all startup items by right-clicking on each and selecting “Disable”
- Close the Task Manager
- Go back to the System Configuration window and click on “OK”
- Restart your computer