What is dxsetup.exe? Is it safe? Download, fix, and update.
This article provides a concise overview of dxsetup.exe, examining its purpose, safety, and methods for downloading, fixing, and updating the file.
- Download and install the Exe and Dll File Repair Tool.
- The software will scan your system to identify issues with exe and dll files.
- The tool will then fix the identified issues, ensuring your system runs smoothly.
Purpose and Function of dxsetup.exe
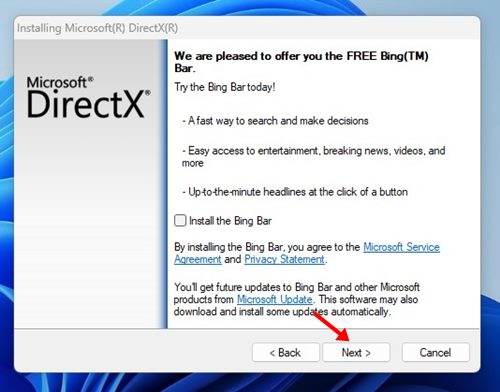
DXSETUP.exe is a file associated with Microsoft DirectX Setup. Its purpose is to install or update DirectX on your computer. It is a legitimate file and is safe to download and run from trusted sources.
If you are experiencing runtime errors or issues related to DirectX, running DXSETUP.exe can help fix the problem. To do this, follow these steps:
1. Download the latest version of DXSETUP.exe from the official Microsoft website or a reputable source.
2. Double-click the downloaded file to run it.
3. Follow the on-screen instructions to complete the installation or update process.
Keep in mind that DXSETUP.exe is not a virus or malware. However, to ensure your computer’s safety, always download it from trusted sources and run an up-to-date anti-virus scan before installing.
If you encounter any issues during the installation or update process, you can seek further assistance from Microsoft support or relevant online forums.
Legitimacy and Safety of dxsetup.exe
The legitimacy and safety of dxsetup.exe depends on its source and purpose. As a legitimate file, dxsetup.exe is part of the Microsoft DirectX Setup tool, which is used to install or update DirectX on Windows operating systems. It is typically found in the C:\Program Files folder and is created by Microsoft Corporation.
To ensure safety, it is important to download dxsetup.exe from a trusted source, such as the official Microsoft website or reputable software providers like Autodesk, Inc.
Before running dxsetup.exe, it is recommended to scan it with an anti-virus program, such as VirusTotal, to check for any potential threats.
If you encounter runtime errors or other issues related to dxsetup.exe, you can try the following steps to fix them:
1. Uninstall any previous versions of DirectX.
2. Download the latest version of dxsetup.exe from a trusted source.
3. Run dxsetup.exe as an administrator.
4. Follow the on-screen instructions to complete the installation or update.
Origin and Creator of dxsetup.exe
The dxsetup.exe file is an operating system file that is commonly associated with the installation and updating of DirectX, a set of application programming interfaces (APIs) developed by Microsoft Corporation. It is a Win32 EXE file that is typically located in the C:\Program Files folder on Windows systems.
The dxsetup.exe file is created by Microsoft and is used by various software applications, including Autodesk, Inc.’s DWG TrueView, to ensure compatibility with DirectX. Its main purpose is to download, fix, and update DirectX on a user’s computer.
It is important to note that the dxsetup.exe file is a safe and essential component for running certain software programs and games. However, like any other executable file, it can be susceptible to errors or issues. If you encounter any problems related to dxsetup.exe, you can try running a repair tool or software tool designed to fix exe errors.
To ensure the safety and integrity of the dxsetup.exe file, you can also scan it using antivirus software or online services like VirusTotal. This will help identify any potential threats or malware that may be associated with the file.
Usage and Associated Software of dxsetup.exe
- Download and Install the Latest DirectX Version:
- Visit the official Microsoft website.
- Search for the latest DirectX version available for download.
- Click on the download link to start the download.
- Once the download is complete, run the setup file.
- Follow the on-screen instructions to install DirectX.
- Update Graphics Drivers:
- Open Device Manager by pressing Win+X and selecting Device Manager from the menu.
- Expand the Display adapters category.
- Right-click on your graphics card and select Update driver.
- Choose the option to search automatically for updated driver software.
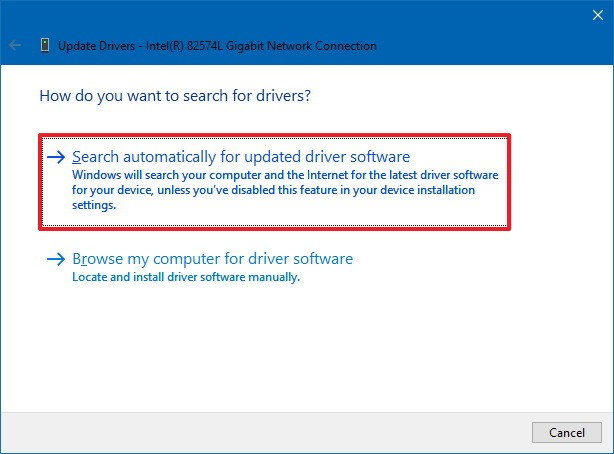
- Wait for the process to complete and follow any additional instructions.
- Run System File Checker:
- Open Command Prompt as an administrator by pressing Win+X and selecting Command Prompt (Admin).
- Type the command sfc /scannow and press Enter.
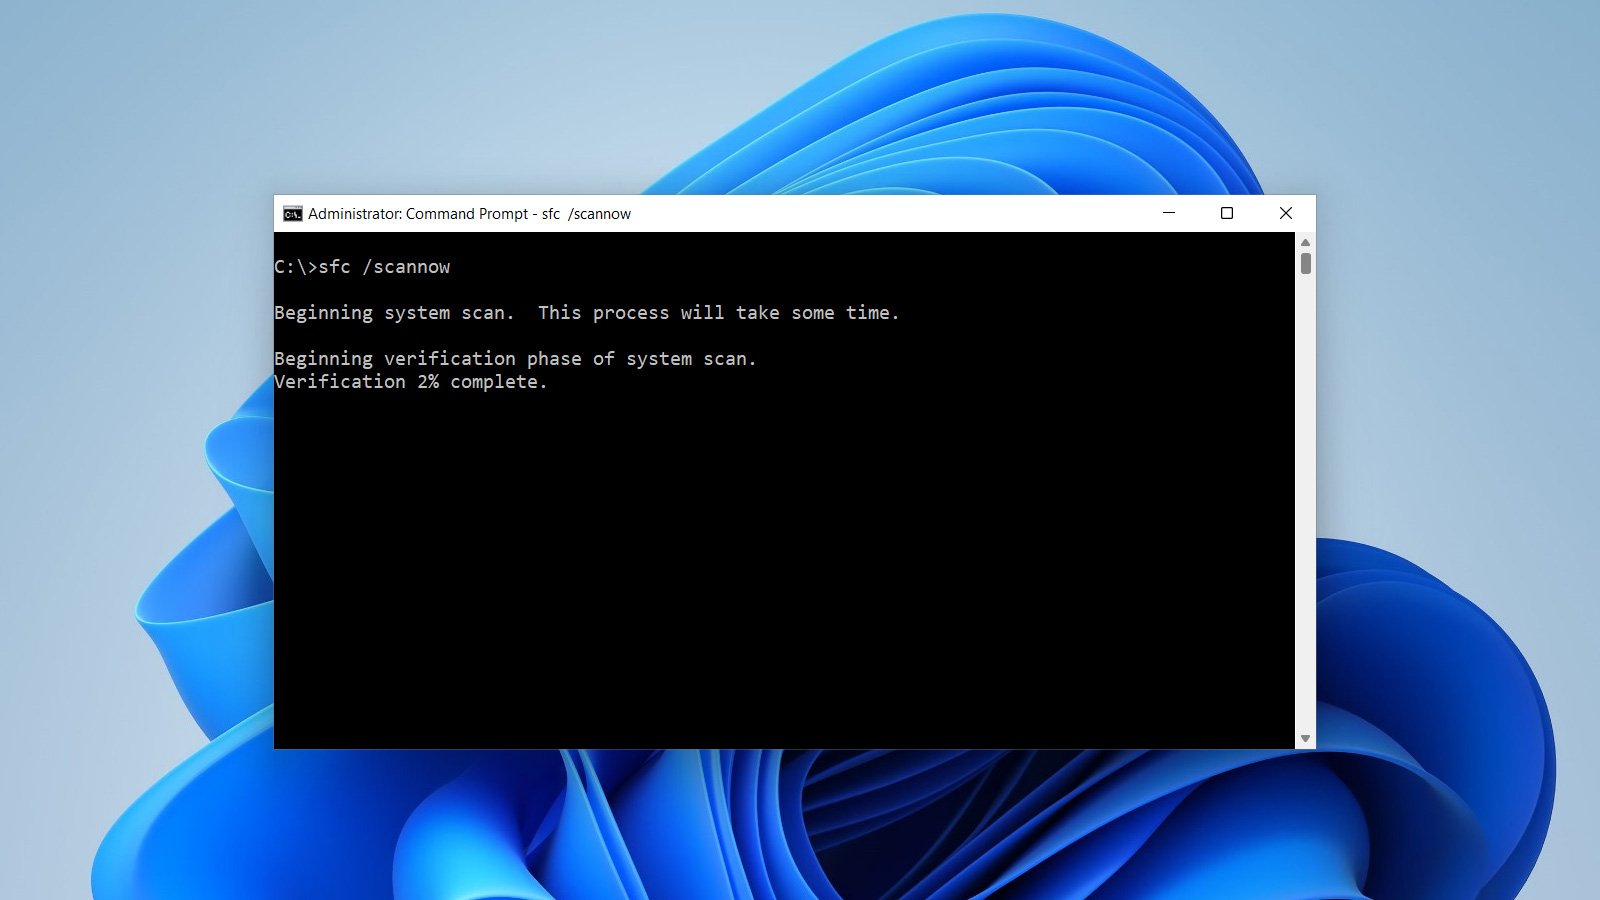
- Wait for the scan to finish. It may take some time.
- If any corrupt files are found, the system will attempt to repair them automatically.
- Check for Malware:
- Install a reliable antivirus or antimalware software if you don’t have one.
- Perform a full system scan to detect and remove any malware.

- Follow the software’s instructions to quarantine or delete any detected threats.
- Reinstall DirectX:
- Press Win+R to open the Run dialog box.
- Type appwiz.cpl and press Enter to open the Programs and Features window.

- Locate and select DirectX from the list of installed programs.
- Click on Uninstall and follow the prompts to remove DirectX.
- Restart your computer.
- Visit the official Microsoft website and download the latest version of DirectX.
- Run the setup file and follow the on-screen instructions to reinstall DirectX.
dxsetup.exe as a System File
dxsetup.exe is a system file that is associated with DirectX, a collection of APIs (Application Programming Interfaces) developed by Microsoft for handling multimedia and gaming tasks on Windows operating systems. It is a Win32 EXE file and is typically found in the “C:\Windows\System32” folder.
The main purpose of dxsetup.exe is to install and update the DirectX runtime components on your system. It ensures that your computer has the necessary files and libraries to run games and other multimedia applications smoothly.
To fix any issues with dxsetup.exe, you can try running the DirectX repair tool. This tool is designed to diagnose and fix common problems related to DirectX installation and compatibility.
If you no longer need DirectX or want to uninstall it, you can do so through the Windows Control Panel. Simply navigate to “Programs and Features” and locate DirectX in the list of installed programs.
It is important to note that dxsetup.exe should only be downloaded and installed from official sources, such as the Microsoft website or reputable software distributors. Be cautious of downloading dxsetup.exe from unknown or suspicious websites, as it may contain malware or other harmful elements.
dxsetup.exe running in the Background
If you have noticed dxsetup.exe running in the background of your computer, you may be wondering what it is and if it is safe. Dxsetup.exe is an operating system file associated with DirectX, a software tool developed by Microsoft for multimedia and gaming applications. It is typically found in the Local\Temp\ folder and is used to install or update DirectX components on your system.
To determine if dxsetup.exe is safe, you can check its version information. Right-click on the file, select “Properties,” and go to the “Details” tab. Look for the product name, company name, and file version. If these details match Microsoft and a known version of DirectX, it is likely safe.
If you are experiencing any issues with dxsetup.exe, such as exe errors or problems during installation or update, you can try to fix them by following these steps:
1. Uninstall any existing versions of DirectX on your system.
2. Download the latest dxsetup.exe file from the official Microsoft website or a trusted source.
3. Run the downloaded file as an administrator to install or update DirectX on your computer.
Latest Update: July 2025
We strongly recommend using this tool to resolve issues with your exe and dll files. This software not only identifies and fixes common exe and dll file errors but also protects your system from potential file corruption, malware attacks, and hardware failures. It optimizes your device for peak performance and prevents future issues:
- Download and Install the Exe and Dll File Repair Tool (Compatible with Windows 11/10, 8, 7, XP, Vista).
- Click Start Scan to identify the issues with exe and dll files.
- Click Repair All to fix all identified issues.

Troubleshooting dxsetup.exe
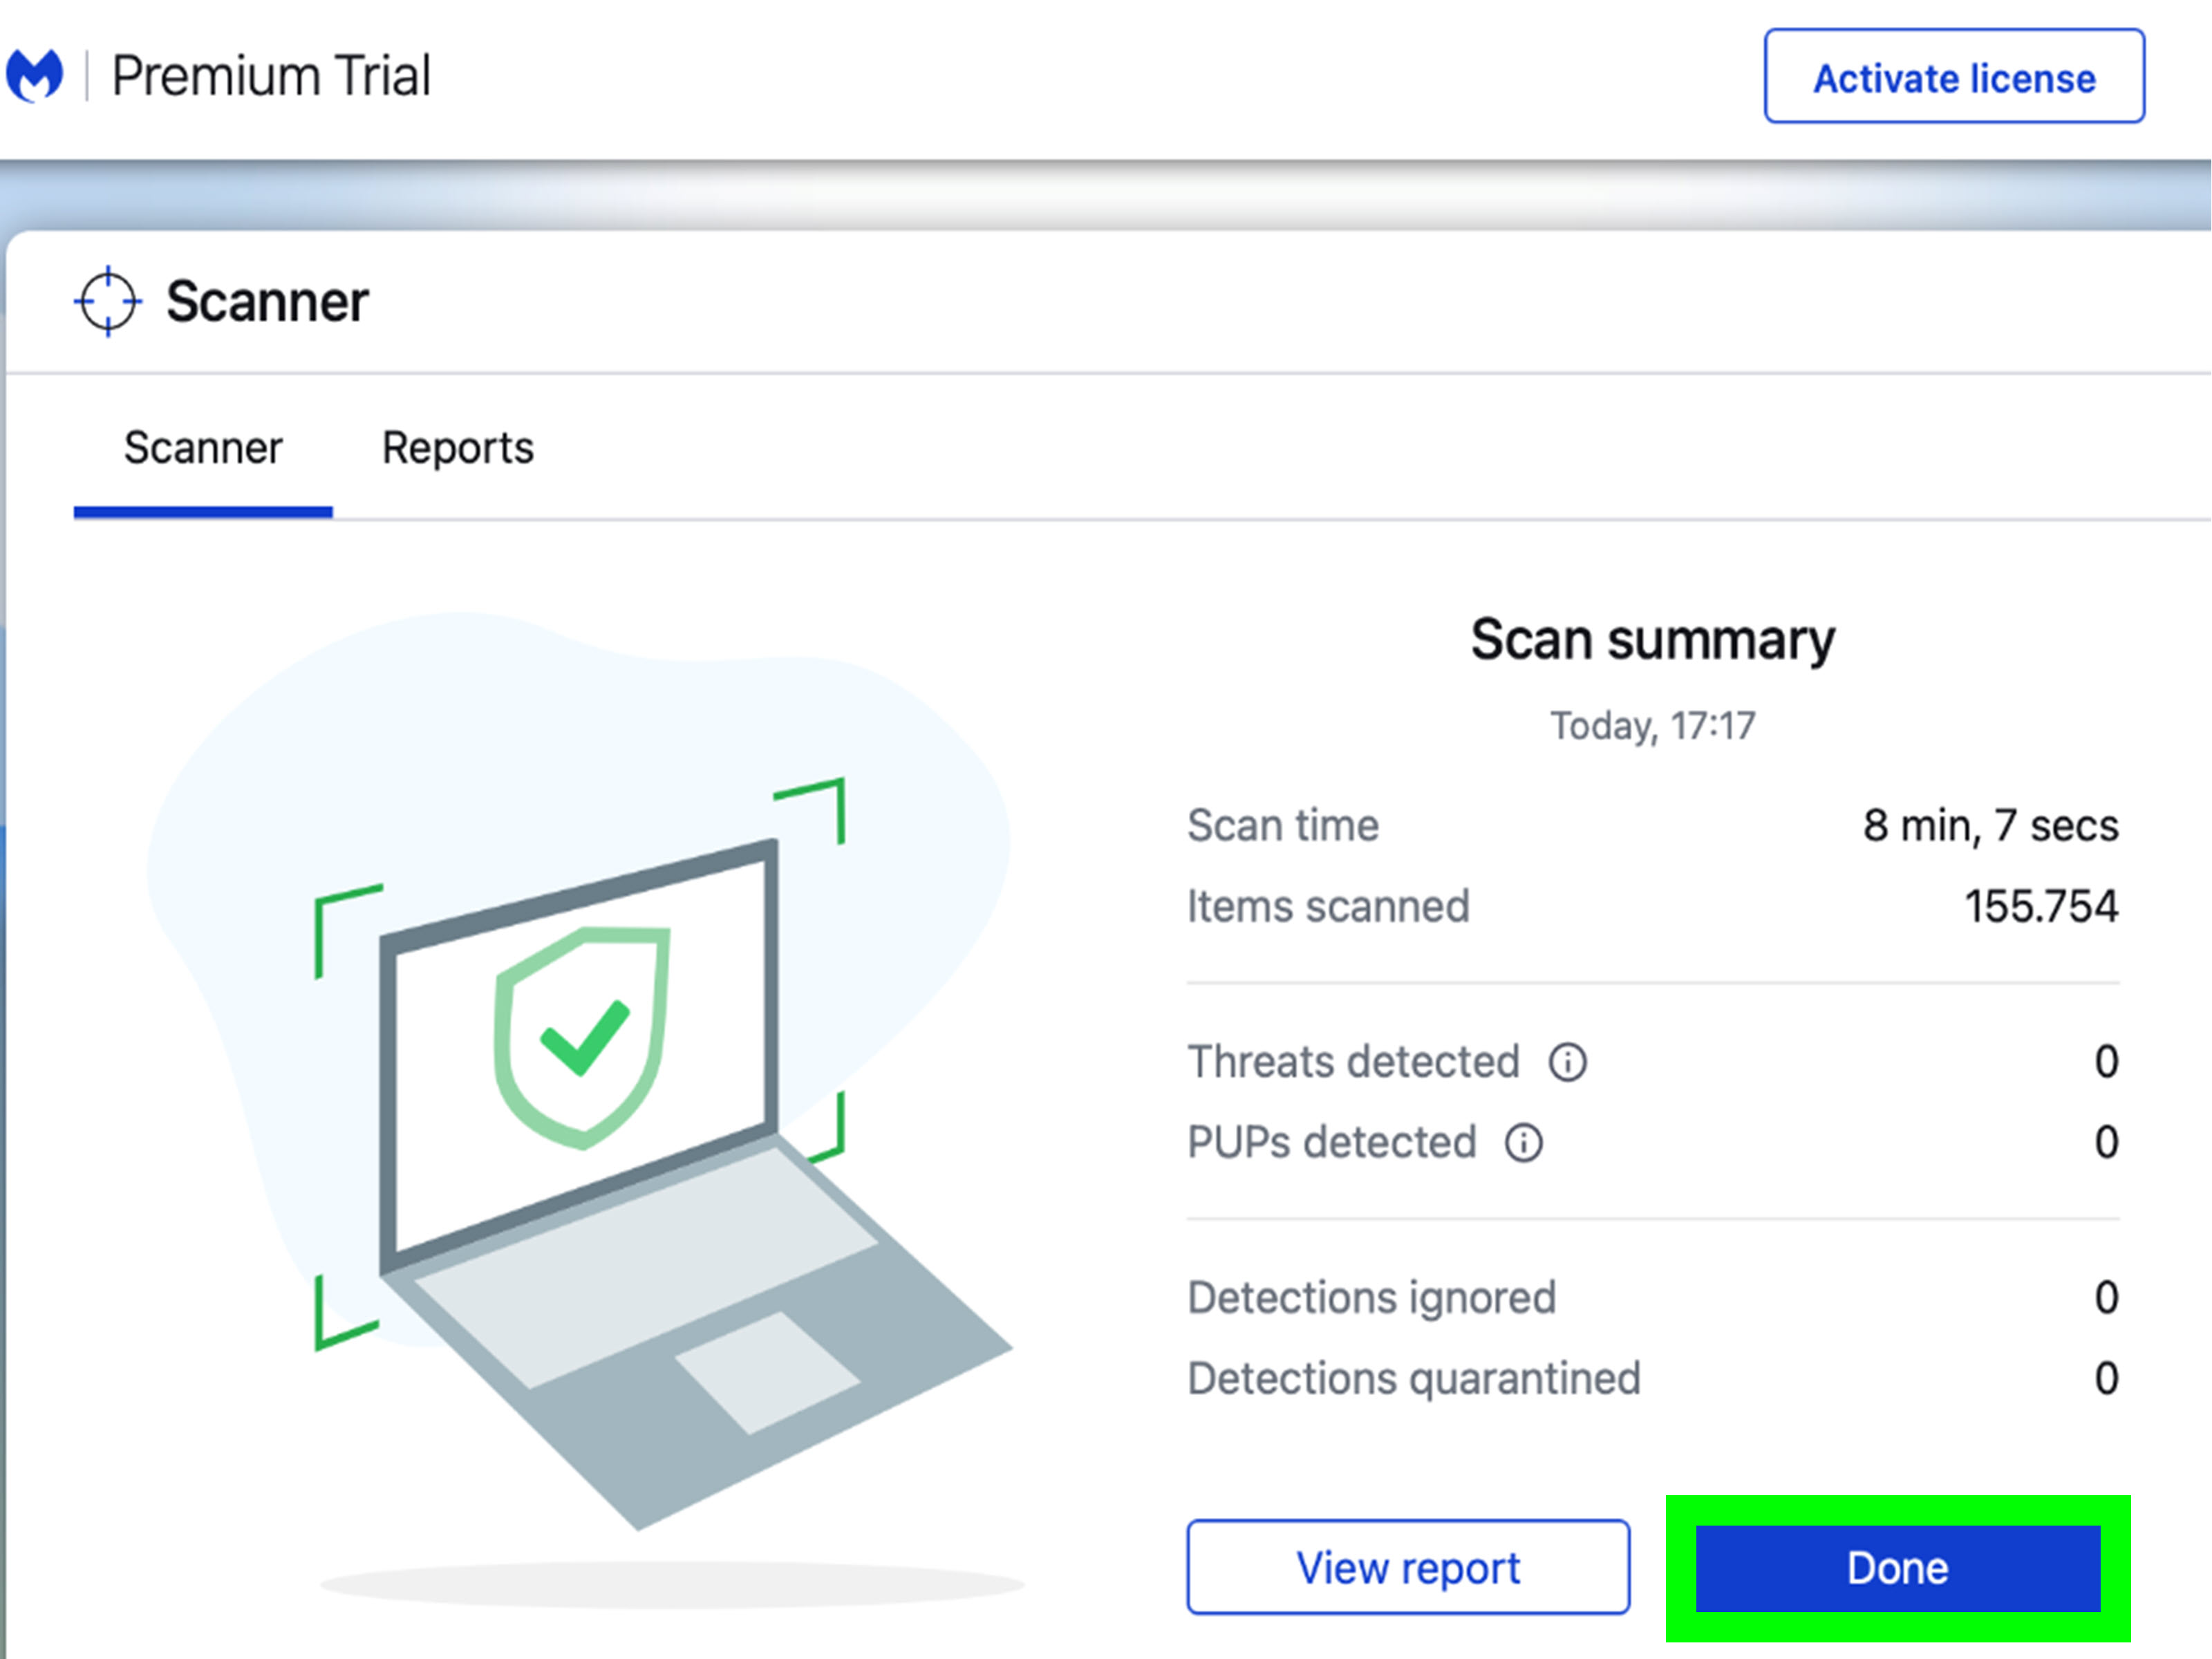
- Step 1: Run a malware scan on your computer.
- Step 2: Update your graphics drivers.
- Step 3: Check for Windows updates.
- Step 4: Reinstall DirectX.
- Step 5: Perform a clean installation of your operating system.
High CPU Usage and Performance Impact of dxsetup.exe
If you’re experiencing high CPU usage and performance issues, dxsetup.exe may be the culprit. This executable file is part of the DirectX Setup program, which is responsible for installing and updating DirectX components on your computer.
While dxsetup.exe is generally safe, it can cause problems when it consumes excessive CPU resources. This can result in slow performance, lag, and even system crashes.
To fix this issue, you can try the following steps:
1. Close any programs or processes that are using a lot of CPU. This will free up resources for dxsetup.exe to run smoothly.
2. Update DirectX to the latest version. Visit the Microsoft website or use the Windows Update feature to download and install the latest DirectX version.
3. Scan your computer for malware. Malicious software can sometimes disguise itself as dxsetup.exe, causing high CPU usage. Use a reliable antivirus program to scan your system.
4. Disable unnecessary startup programs. Some programs may be launching automatically and contributing to high CPU usage. Use the Task Manager to disable unnecessary startup items.
Malware and Removal Tool for dxsetup.exe
If you suspect that your computer may be infected with malware, one common file to watch out for is dxsetup.exe. This file is part of the DirectX Setup program, which is responsible for installing and updating the DirectX runtime on your system.
While dxsetup.exe is a legitimate file and is usually safe, it can sometimes be targeted by malware to disguise its malicious activities. If you’re experiencing issues with your computer and suspect that dxsetup.exe may be the culprit, it’s important to take action.
To fix any problems related to dxsetup.exe, you can follow these steps:
1. Scan your computer for malware: Use a reliable antivirus or anti-malware software to scan your system and remove any malicious files.
2. Update DirectX: Visit the official Microsoft website and download the latest version of DirectX to ensure that your system is up to date.
3. Uninstall suspicious programs: If you notice any unfamiliar or suspicious programs on your computer, uninstall them to eliminate any potential threats.
dxsetup.exe Not Responding Issues
- Check for system requirements:
- Ensure that your system meets the minimum requirements for running dxsetup.exe.
- Verify that you have sufficient disk space available.
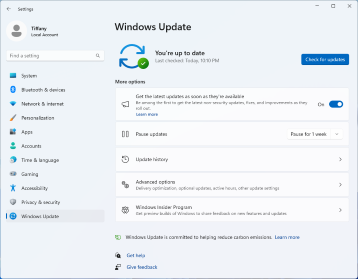
- Update DirectX:
- Open Internet Explorer.
- Visit the Microsoft DirectX Download Center webpage.
- Download the latest version of DirectX compatible with your operating system.
- Run the downloaded installer and follow the on-screen instructions to update DirectX.
- Scan for malware:
- Open your antivirus software.
- Perform a full system scan to detect and remove any malware or viruses that could be affecting dxsetup.exe.
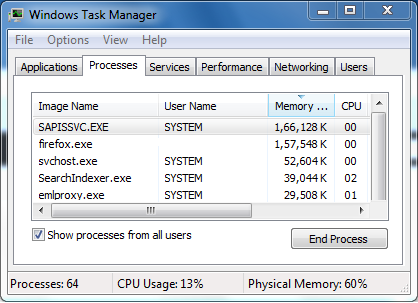
- Close unnecessary processes:
- Open Task Manager by pressing Ctrl+Shift+Esc.
- Switch to the Processes tab.
- Identify any unnecessary or resource-intensive processes related to dxsetup.exe.
- Right-click on those processes and select End Task.
- Disable conflicting software:
- Open the Control Panel on your computer.
- Go to Programs or Programs and Features.
- Identify any software that could conflict with dxsetup.exe, such as game boosters or performance optimization tools.
- Select the conflicting software and click on Uninstall or Remove.
- Perform a clean boot:
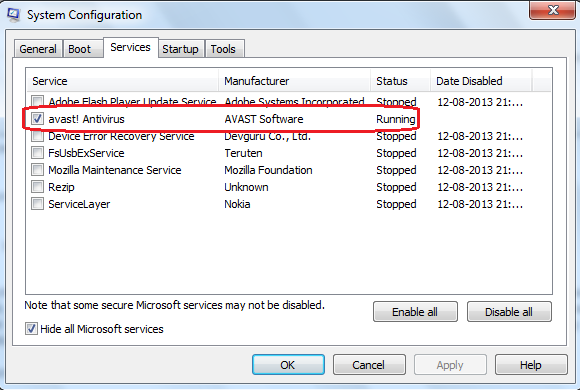
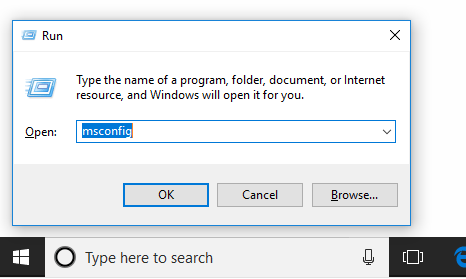
- Press Windows + R to open the Run dialog box.
- Type “msconfig” and press Enter.
- In the System Configuration window, go to the Services tab.
- Check the box that says “Hide all Microsoft services“.
- Click on Disable all.
- Switch to the Startup tab.

- Click on Open Task Manager.
- In the Startup tab of the Task Manager, disable all startup items.
- Close the Task Manager and go back to the System Configuration window.
- Click on OK and restart your computer.
- Reinstall DirectX:
- Press Windows + R to open the Run dialog box.
- Type “appwiz.cpl” and press Enter.
- In the Programs and Features window, locate and select DirectX.
- Click on Uninstall or Remove.
- Follow the on-screen instructions to complete the uninstallation process.
- Restart your computer.
- Visit the Microsoft DirectX Download Center webpage.
- Download the latest version of DirectX compatible with your operating system.
- Run the downloaded installer and follow the on-screen instructions to reinstall DirectX.
- Seek professional help:
- If the dxsetup.exe not responding issue persists after following the above steps, consider contacting technical support or seeking assistance from a professional computer technician.
Starting dxsetup.exe on Startup
To start dxsetup.exe on startup, you can add it to your computer’s startup programs. This will ensure that the program runs every time you start your computer. Here’s how to do it:
1. Press the Windows key + R to open the Run dialog box.
2. Type “shell:startup” (without the quotes) and click OK.
3. This will open the Startup folder. Right-click on an empty area inside the folder and select “New” -> “Shortcut”.
4. In the Create Shortcut window, click the “Browse” button and navigate to the location of dxsetup.exe on your computer. Usually, it can be found in the Local\Temp\ folder or in the folder where you downloaded it.
5. Select dxsetup.exe and click OK.
6. Click Next and give the shortcut a name.
7. Click Finish to create the shortcut.
8. Now, dxsetup.exe will run automatically every time you start your computer.
Compatibility with Different Windows Versions
Compatibility with Different Windows Versions
| Windows Version | Compatibility |
|---|---|
| Windows XP | Compatible |
| Windows Vista | Compatible |
| Windows 7 | Compatible |
| Windows 8 | Compatible |
| Windows 8.1 | Compatible |
| Windows 10 | Compatible |
Downloading and Updating dxsetup.exe
To download and update dxsetup.exe, follow these steps:
1. Visit the official Microsoft website or trusted software repository to download the dxsetup.exe file.
2. Locate the downloaded file and double-click on it to start the installation process.
3. Follow the on-screen instructions to complete the installation.
4. If you encounter any issues during installation, try running the dxsetup.exe file as an administrator.
5. To update dxsetup.exe, check for updates on the Microsoft website or use the built-in update feature in your operating system.
6. It is important to regularly update dxsetup.exe to ensure compatibility with the latest software and games.
7. If you encounter any problems with dxsetup.exe, such as errors or crashes, you can try reinstalling it.
8. Uninstalling dxsetup.exe should only be done if necessary, as it is a crucial component for running certain applications.
Alternatives to dxsetup.exe
If you’re looking for alternatives to dxsetup. exe, there are a few options you can try. One alternative is to use the Microsoft DirectX End-User Runtime Web Installer. This installer will automatically download and install the necessary DirectX components for your system. Another option is to manually download and install the specific DirectX components you need. You can find these components on the Microsoft Download Center website.
Additionally, some software applications, like Autodesk’s DWG TrueView, may include their own version of dxsetup. exe. If you’re experiencing issues with dxsetup. exe, you can try uninstalling and reinstalling the software that uses it. Just be sure to follow the proper uninstallation and installation procedures. Remember to always download software from trusted sources and keep your system up to date to ensure safety and compatibility.