Troubleshooting SystemSettings.exe Errors and Crashes
Welcome to the world of troubleshooting SystemSettings.exe errors and crashes. In this article, we delve into the realm of fixing common issues that plague this essential Windows process. So, buckle up and get ready to unravel the mysteries behind these pesky errors and crashes that disrupt your system’s settings.
- Download and install the Exe and Dll File Repair Tool.
- The software will scan your system to identify issues with exe and dll files.
- The tool will then fix the identified issues, ensuring your system runs smoothly.
Introduction to systemsettings.exe
SystemSettings.exe is a software component and a crucial part of the Microsoft Windows Operating System. It is responsible for managing system settings and providing access to various options and features in Windows.
If you encounter errors or crashes related to SystemSettings.exe, it can disrupt your computer’s functionality. To troubleshoot these issues, you can follow these steps:
1. Scan for malware: Use a reliable antivirus program to scan your system for any malware or Trojan infections that may be causing the problem.
2. Check for corrupt system files: Run a system file checker scan to identify and repair any corrupted system files that may be affecting SystemSettings.exe.
3. Reinstall Windows UI: If the issue persists, you can try reinstalling the Windows UI using PowerShell commands.
4. Update Windows: Make sure your operating system is up to date with the latest updates and patches from Microsoft.
Common errors associated with systemsettings.exe
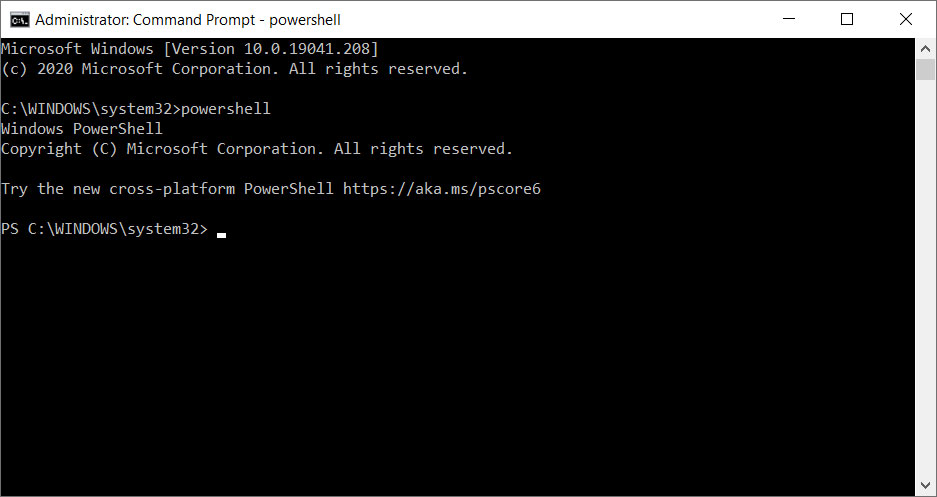
- Open Command Prompt as an administrator by searching for it in the Start menu, right-clicking on it, and selecting “Run as administrator”.
- Type the command sfc /scannow and press Enter to start the System File Checker scan.
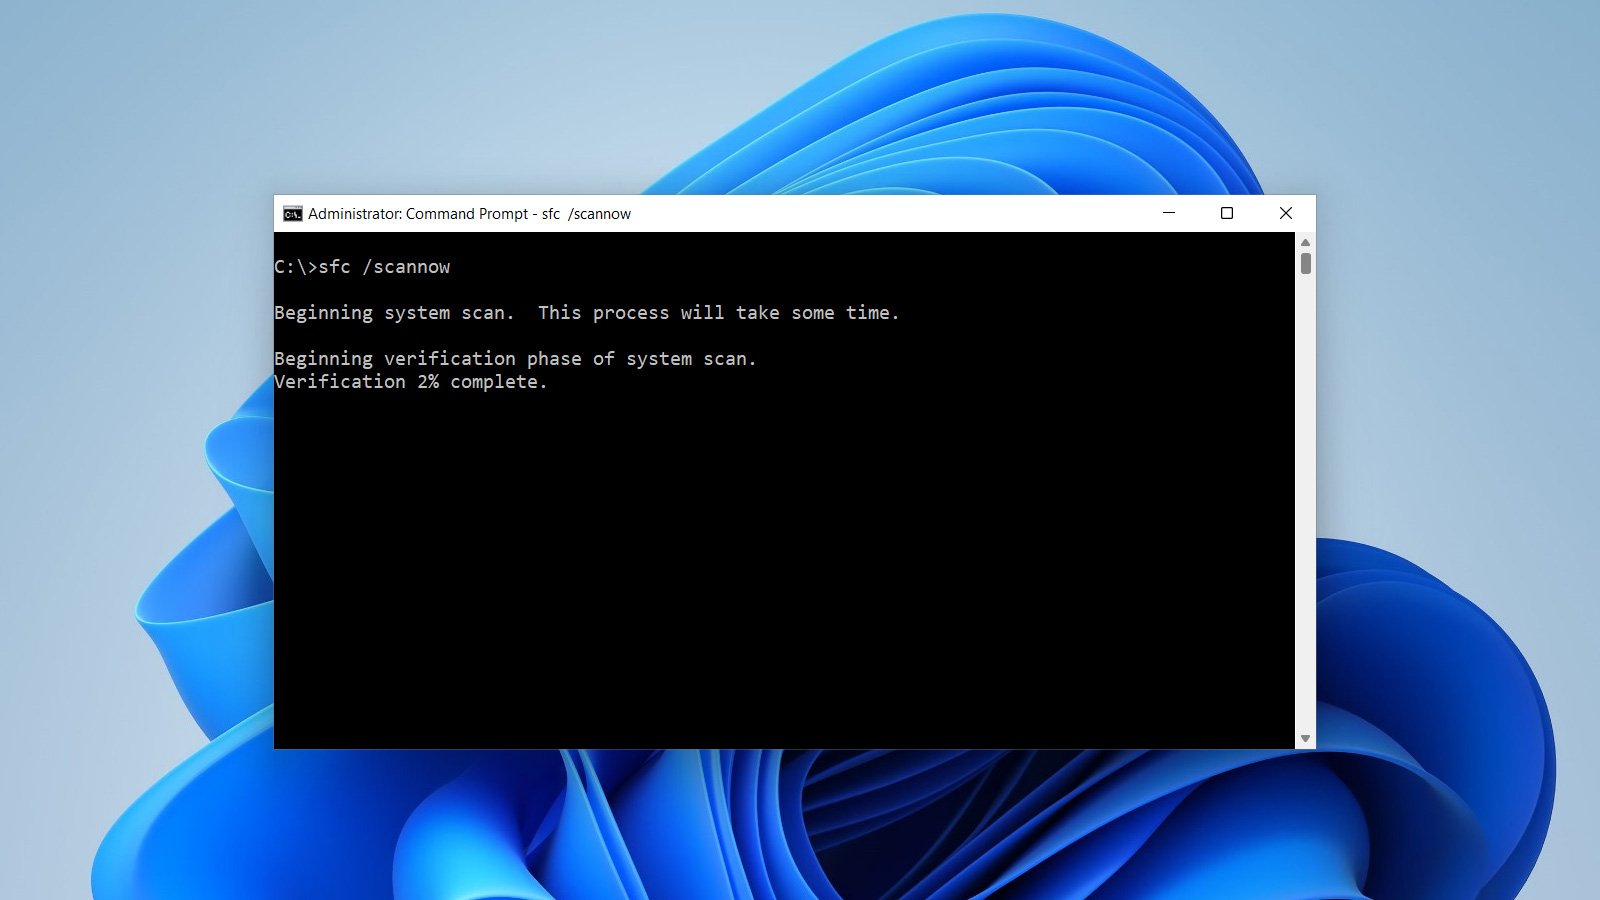
- Let the scan complete. It may take some time to scan and repair any corrupted system files.
- Once the scan is finished, restart your computer and check if the systemsettings.exe error is resolved.
Repair Method 2: Update Windows
- Open Settings by pressing Windows key + I or searching for it in the Start menu.
- Click on Update & Security and then select Windows Update from the left sidebar.
- Click on the Check for updates button and wait for Windows to search for available updates.
- If there are any pending updates, click on the Install button to download and install them.
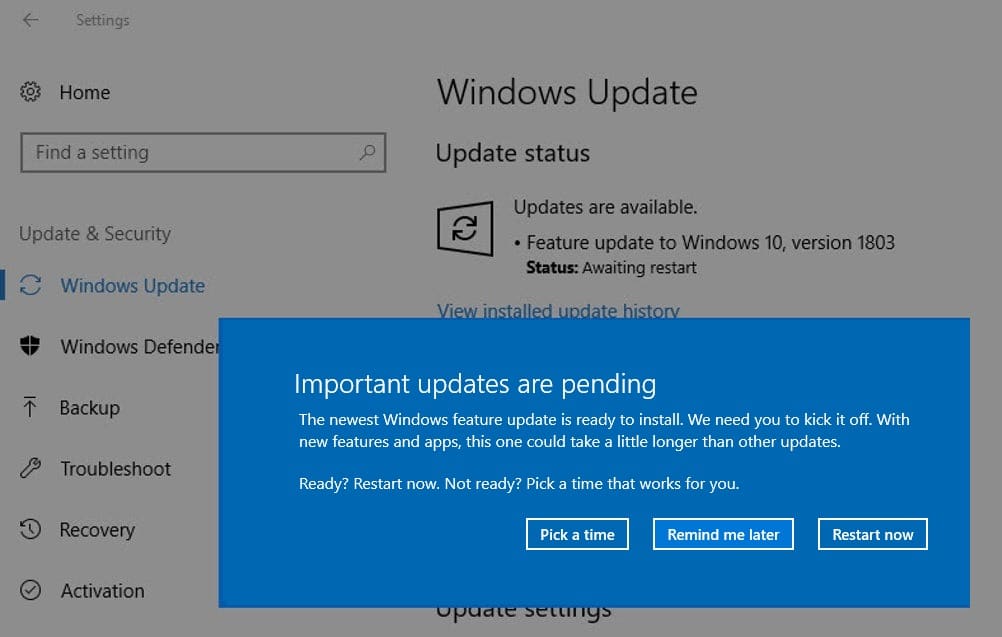
- After the updates are installed, restart your computer and check if the systemsettings.exe error persists.
Repair Method 3: Perform a Clean Boot
- Press Windows key + R to open the Run dialog box.
- Type msconfig and press Enter to open the System Configuration window.
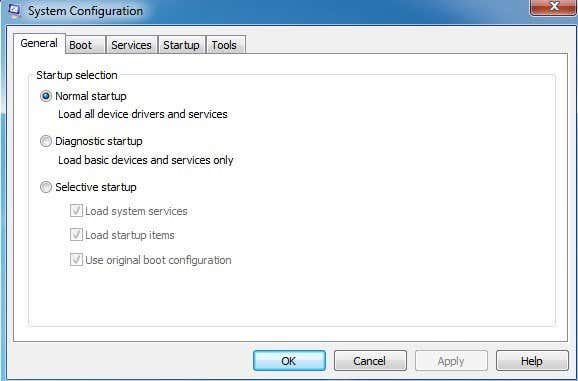
- In the General tab, select the Selective startup option and uncheck the box next to Load startup items.
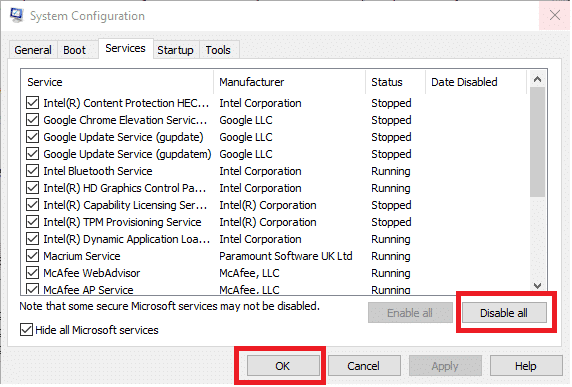
- Go to the Services tab and check the box next to Hide all Microsoft services.
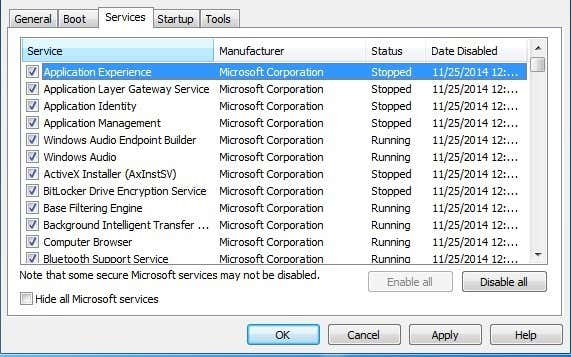
- Click on the Disable all button to disable all non-Microsoft services.
- Click on Apply and then OK to save the changes.
- Restart your computer and check if the systemsettings.exe error has been resolved.
Latest Update: July 2025
We strongly recommend using this tool to resolve issues with your exe and dll files. This software not only identifies and fixes common exe and dll file errors but also protects your system from potential file corruption, malware attacks, and hardware failures. It optimizes your device for peak performance and prevents future issues:
- Download and Install the Exe and Dll File Repair Tool (Compatible with Windows 11/10, 8, 7, XP, Vista).
- Click Start Scan to identify the issues with exe and dll files.
- Click Repair All to fix all identified issues.

Troubleshooting and repairing systemsettings.exe errors
If you’re experiencing errors or crashes related to the systemsettings.exe file, there are a few troubleshooting steps you can take to resolve the issue.
First, try scanning your systemsettings.exe file for any potential malware or viruses. This can be done using an antivirus program or a dedicated malware scanner.
If the issue persists, you can try repairing the systemsettings.exe file. To do this, you’ll need to locate the executable file on your system. The default location for this file is C:\Windows\ImmersiveControlPanel. Once you’ve located the file, right-click on it and select “Properties.” In the Properties window, go to the “Security” tab and click on “Advanced.” In the Advanced Security Settings window, click on “Change” next to the owner field and enter your username. Then, check the box that says “Replace owner on subcontainers and objects” and click “OK” to apply the changes.
If none of these steps resolve the issue, it may be worth considering reinstalling the system application or seeking further assistance from Microsoft Corporation.
Removing systemsettings.exe if necessary
If you are experiencing errors or crashes related to systemsettings.exe, you may need to remove it from your system. Systemsettings.exe is a software component and part of the Microsoft Windows Operating System. It is responsible for the function of the System Settings panel in Windows 8 and is located in the C:\Windows\ImmersiveControlPanel directory.
To remove systemsettings.exe, follow these steps:
1. Open the search bar and type “C:\Windows\ImmersiveControlPanel” to navigate to the directory where systemsettings.exe is located.
2. Locate the systemsettings.exe file and right-click on it.
3. Select “Delete” from the options menu to remove the file from your system.
Once you have deleted systemsettings.exe, restart your computer and check if the errors or crashes have been resolved. If the issues persist, it is recommended to scan your system for any potential malware or Trojan infections using reliable antivirus software.
Please note that removing systemsettings.exe may affect the functionality of the System Settings app in Windows 8. If you still need access to the System Settings panel, consider repairing or reinstalling the Microsoft Windows Operating System.
Additional tips for resolving issues with systemsettings.exe
- Open the Command Prompt as an administrator by right-clicking on the Start button and selecting “Command Prompt (Admin)”.
- Type sfc /scannow and press Enter.
- Wait for the scan to complete. It may take some time.
- If any corrupted system files are found, the System File Checker will attempt to repair them automatically.
- Restart your computer once the process is finished.
Repair Method 2: Perform a Clean Boot
- Press Windows Key + R to open the Run dialog box.
- Type msconfig and press Enter to open the System Configuration window.
- In the General tab, select “Selective startup” and uncheck the box next to “Load startup items”.
- Go to the Services tab and check the box next to “Hide all Microsoft services”.
- Click on “Disable all” to disable all non-Microsoft services.
- Click on the Startup tab and select “Open Task Manager”.
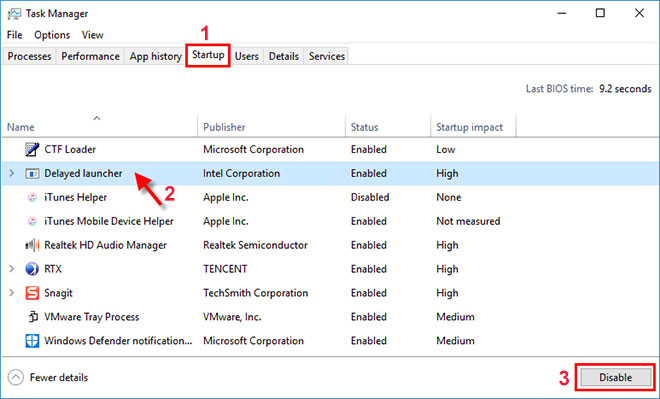
- In the Task Manager, disable all the startup programs by right-clicking on each and selecting “Disable”.
- Close the Task Manager and go back to the System Configuration window.
- Click on “Apply” and then “OK”.
- Restart your computer.
Repair Method 3: Update Graphics Drivers
- Open Device Manager by right-clicking on the Start button and selecting it from the menu.
- Expand the “Display adapters” category.
- Right-click on your graphics card and select “Update driver”.
- Choose the option to search automatically for updated driver software.
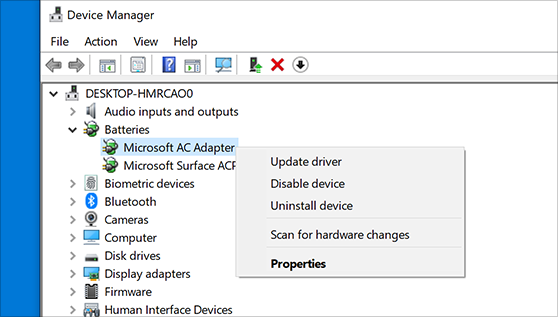
- Follow the on-screen instructions to install any available updates.
- Restart your computer after the driver update is complete.