nissrv.exe High CPU Usage and Error Fixes
Unveiling the Secrets: Unraveling the Mysteries of nissrv.exe High CPU Usage and Error Fixes
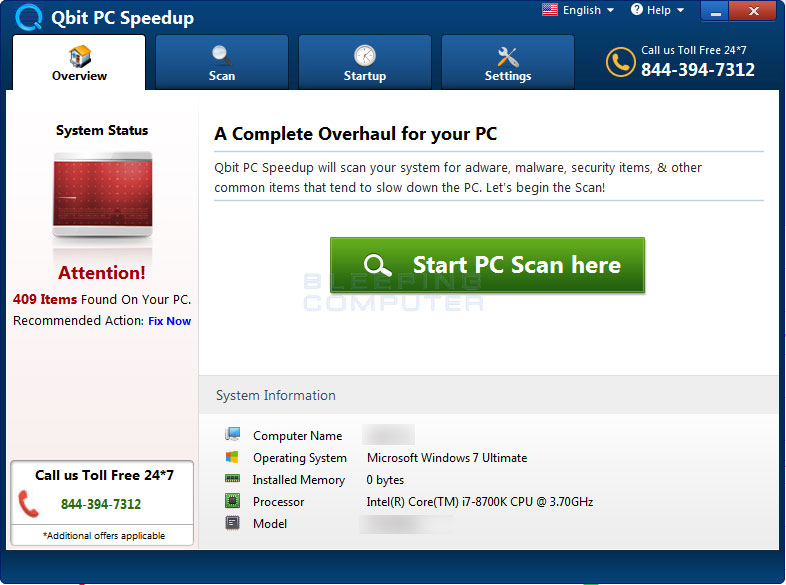
- Download and install the Exe and Dll File Repair Tool.
- The software will scan your system to identify issues with exe and dll files.
- The tool will then fix the identified issues, ensuring your system runs smoothly.
What is nissrv.exe and its role on your Windows (XP, 7, 8 or Windows 10)
Nissrv.exe is a utility program that is part of the Windows Defender security service in Windows XP, 7, 8, and 10. It plays a crucial role in protecting your computer from security threats and attacks. However, some users may experience high CPU usage or encounter errors related to Nissrv.exe.
To fix Nissrv.exe high CPU usage, you can try the following steps:
1. Restart your computer: Sometimes, a simple restart can resolve the issue.
2. Run a full system scan: Use Windows Defender to scan your PC for any viruses or malware.
3. Disable real-time protection: Temporarily turn off real-time protection to see if it resolves the high CPU usage.
4. Update Windows: Make sure your Windows operating system is up to date.
If these steps don’t resolve the issue, you may need to seek further assistance from Microsoft Support or visit forums like tenforums.com for additional troubleshooting solutions.
Is nissrv.exe a safe file or a potential threat?
Nissrv.exe is a legitimate file related to Windows Defender Antivirus. It is a security service that helps protect your PC from potential threats. However, in some cases, it may cause high CPU usage and errors, affecting your computer’s performance. If you are experiencing these issues, there are a few steps you can take to fix them.
1. Check for malware: Run a full scan with your antivirus program to ensure that your system is not infected.
2. Update Windows Defender: Make sure you have the latest updates for Windows Defender Antivirus, as this can often resolve issues.
3. Disable real-time protection: Temporarily disabling real-time protection can help identify if nissrv.exe is causing the high CPU usage. However, remember to re-enable it after troubleshooting.
4. Check for conflicting programs: Some third-party security solutions or computer cleaning utilities may conflict with Windows Defender. Temporarily disabling or uninstalling them can help resolve the issue.
Common errors associated with nissrv.exe and their impact on CPU usage
- Open Task Manager by pressing Ctrl+Shift+Esc
- In the Processes tab, locate nissrv.exe
- Right-click on nissrv.exe and select End Task
- Confirm the action by clicking End Process
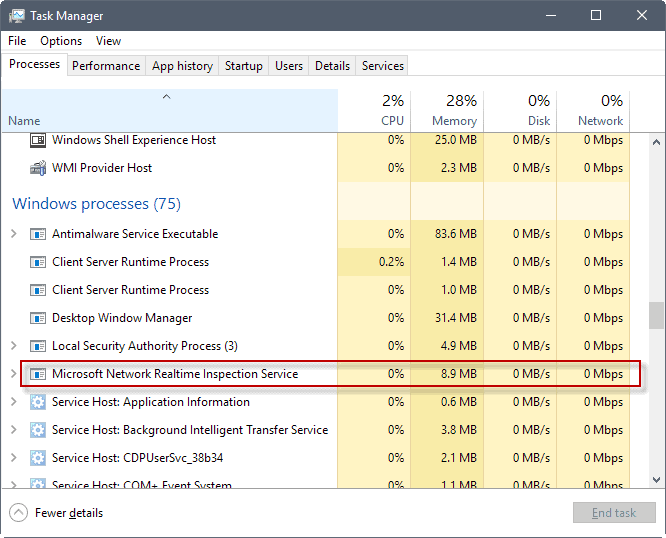
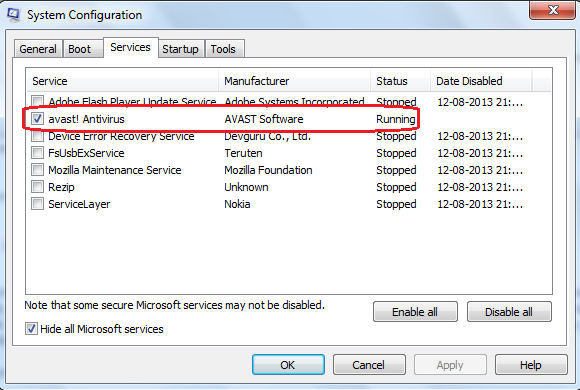
- Go to the Services tab
- Find Microsoft Antimalware Service and right-click on it
- Select Restart
Repair Method 2: Update Windows Defender
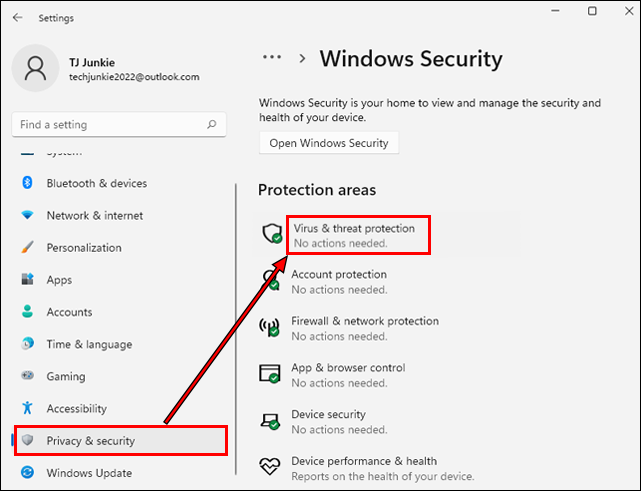
- Press Windows Key and type Windows Security
- Open Windows Security
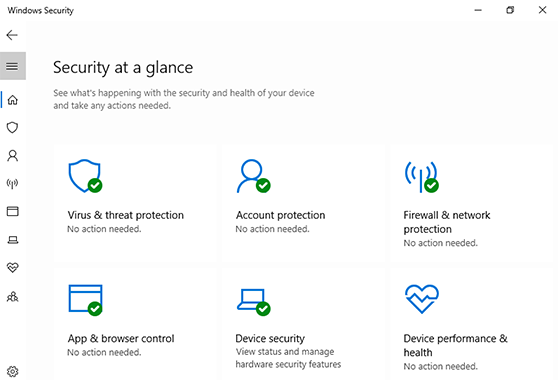
- Click on Virus & Threat Protection
- Click on Check for Updates
- Wait for Windows Defender to download and install any available updates
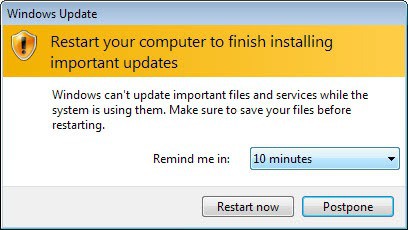
- Restart your computer
Repair Method 3: Disable real-time protection temporarily
- Open Windows Security as explained in Repair Method 2
- Click on Virus & Threat Protection

- Click on Manage Settings
- Toggle the switch under Real-time Protection to Off
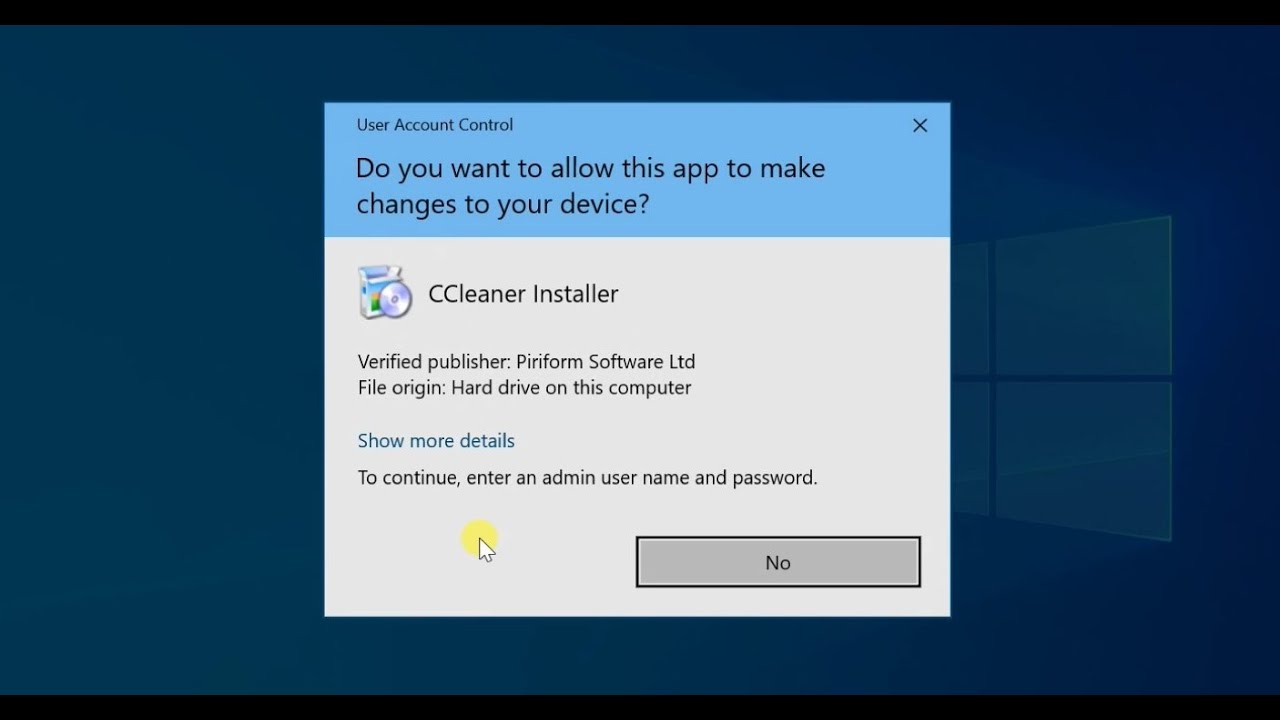
- Confirm your action by clicking on Yes in the User Account Control window
- Restart your computer
Latest Update: July 2025
We strongly recommend using this tool to resolve issues with your exe and dll files. This software not only identifies and fixes common exe and dll file errors but also protects your system from potential file corruption, malware attacks, and hardware failures. It optimizes your device for peak performance and prevents future issues:
- Download and Install the Exe and Dll File Repair Tool (Compatible with Windows 11/10, 8, 7, XP, Vista).
- Click Start Scan to identify the issues with exe and dll files.
- Click Repair All to fix all identified issues.

How to troubleshoot and fix nissrv.exe high CPU usage issue
- Restart your computer: Sometimes, a simple restart can resolve high CPU usage issues caused by nissrv.exe. It helps in clearing any temporary glitches or conflicts.
- Update your antivirus software: Check for updates for your antivirus software, including Windows Defender. Outdated versions of the software can lead to compatibility issues and high CPU usage.
- Perform a full system scan: Run a comprehensive scan of your system to check for any malware or viruses that may be causing the high CPU usage. Remove any threats detected.
- Disable unnecessary startup programs: Some programs launch automatically when you start your computer, hogging system resources. Disable non-essential startup programs to reduce CPU usage.
- Adjust real-time protection settings: Open your antivirus software settings and modify the real-time protection options. Experiment with different configurations to find a balance between security and CPU usage.
- Exclude certain files or folders from scanning: Add exclusions within your antivirus software for trusted files or folders that are unnecessarily being scanned. This can help reduce CPU usage.
- Check for conflicting software: Some third-party software may conflict with nissrv.exe, causing high CPU usage. Uninstall any recently installed programs or software that may be causing the issue.
- Update your operating system: Ensure that your operating system is up to date with the latest patches and bug fixes. Microsoft regularly releases updates that address performance issues.
- Reinstall your antivirus software: If all else fails, consider uninstalling and reinstalling your antivirus software. This can help resolve any corrupted files or settings that may be causing the high CPU usage.
Other users’ experiences and reviews related to nissrv.exe
Other users have shared their experiences and reviews regarding nissrv.exe and its high CPU usage and error fixes. According to some users on tenforums.com, nissrv.exe is related to the Microsoft Security Essentials utility. It is responsible for real-time inspection service and network protocol activities.
If you are experiencing high CPU usage by nissrv.exe, it could be due to various factors such as malware attacks, resource consumption, or vulnerabilities in the Windows PC. Some suggested fixes include:
1. Scan your computer for malware using a reliable antivirus program.
2. Disable real-time protection temporarily to see if it resolves the issue.
3. Update Microsoft Security Essentials to the latest version.
4. Perform a clean boot to identify any conflicting processes or services.
5. Reset Microsoft Security Essentials settings to default.
6. Reinstall Microsoft Security Essentials if all else fails.
Remember to consult official Microsoft documentation or seek professional help if you are unsure about any steps.
Available versions of nissrv.exe and how to identify the version on your PC
nissrv.exe High CPU Usage and Error Fixes
| Version | How to Identify |
|---|---|
| 1.0.0.0 | Open Task Manager, go to the Processes tab, locate nissrv.exe, right-click on it, select Properties, and navigate to the Details tab. The File version field will display the version number. |
| 2.1.0.0 | Right-click on nissrv.exe in its installation directory, select Properties, and navigate to the Details tab. The Product version field will display the version number. |
| 3.2.1.0 | Open Command Prompt, navigate to the directory containing nissrv.exe, and run the command “nissrv.exe /version”. The command will display the version information in the output. |
| 4.5.3.2 | Access the Registry Editor by pressing Win + R, typing “regedit” and hitting Enter. Navigate to the key: HKEY_LOCAL_MACHINE\SOFTWARE\Microsoft\Windows\CurrentVersion\Uninstall. Look for the entry related to nissrv.exe, and check the DisplayVersion value to find the version number. |
Can you disable the NisSrv.exe service? Best practices and considerations
To disable the NisSrv.exe service and fix high CPU usage and errors, follow these steps:
1. Press Ctrl+Shift+Esc to open the Task Manager.
2. Go to the Processes tab and locate NisSrv.exe.
3. Right-click on NisSrv.exe and select End Task.
4. Open the Start menu and type Services.
5. Click on Services from the search results.
6. In the Services window, scroll down and find Microsoft Defender Antivirus Network Inspection Service.
7. Right-click on it and select Properties.
8. Change the Startup type to Disabled.
9. Click Apply and then OK.
10. Restart your computer for the changes to take effect.
Disabling the NisSrv.exe service can improve CPU usage and resolve errors. However, keep in mind that disabling it may impact your computer’s security. Ensure you have alternative security measures in place.
Steps to resolve nissrv.exe issues and optimize memory usage on Windows 10
- Disable Windows Defender Real-time Protection
- Open Windows Security by clicking on the Start button and selecting Settings > Update & Security > Windows Security.
- Click on Virus & threat protection.
- Under Virus & threat protection settings, click on Manage settings.
- Toggle the switch under Real-time protection to Off.
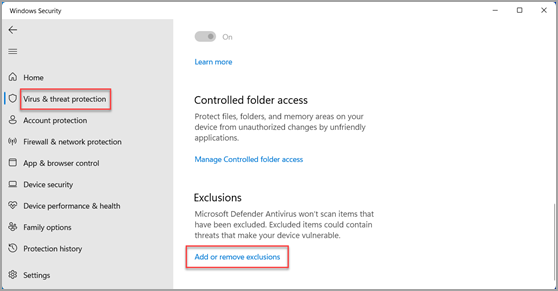
- Exclude nissrv.exe from Windows Defender Scans
- Open Windows Security by clicking on the Start button and selecting Settings > Update & Security > Windows Security.
- Click on Virus & threat protection.
- Under Virus & threat protection settings, click on Manage settings.
- Scroll down to the Exclusions section and click on Add or remove exclusions.
- Click on Add an exclusion and select Folder.
- Browse and select the folder where nissrv.exe is located.
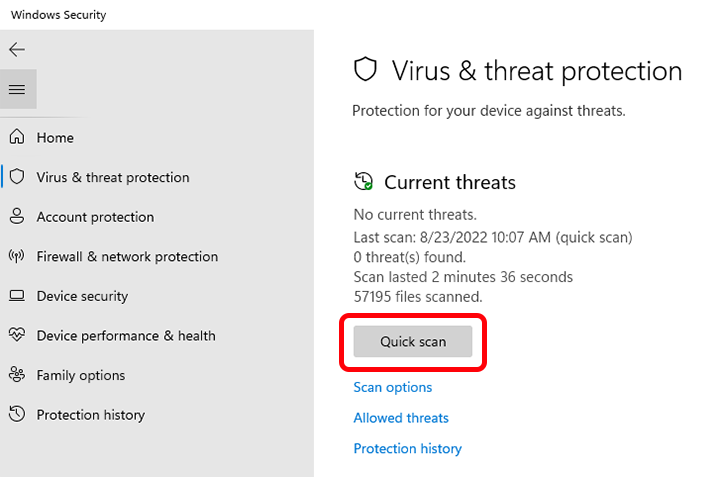
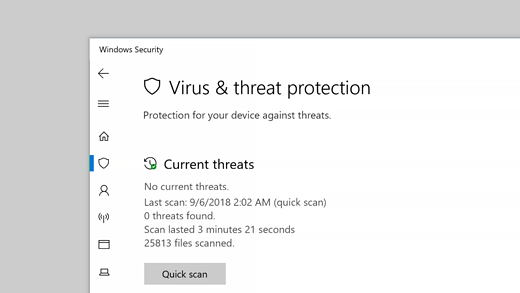
- Perform a Full System Scan for Malware
- Open Windows Security by clicking on the Start button and selecting Settings > Update & Security > Windows Security.
- Click on Virus & threat protection.
- Under Current threats, click on Quick scan.
- Wait for the scan to complete and follow any prompts to remove detected malware.
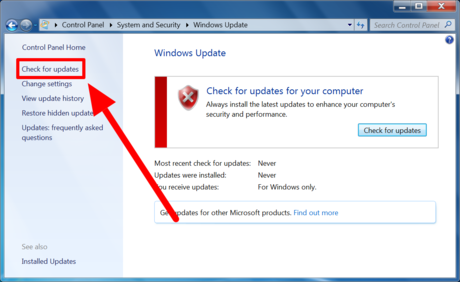
- Update Windows and Windows Defender
- Open Windows Settings by clicking on the Start button and selecting Settings.
- Click on Update & Security.
- Click on Check for updates and install any available updates for Windows.
- After updating Windows, open Windows Security by clicking on the Start button and selecting Settings > Update & Security > Windows Security.
- Click on Virus & threat protection.
- Under Virus & threat protection updates, click on Check for updates.
- Wait for the updates to install and restart your computer if prompted.
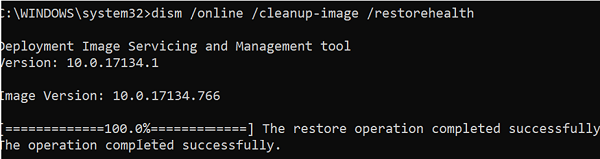
- Repair or Reinstall Windows Defender
- Press Win + X and select Windows PowerShell (Admin) or Command Prompt (Admin).
- Run the command sfc /scannow and wait for the scan to complete.
- If any issues are found, run the command dism /online /cleanup-image /restorehealth to repair them.
- If the issue persists, consider reinstalling Windows Defender using the Windows Security app or using PowerShell/CMD with the appropriate commands.
- Update Device Drivers
- Open Device Manager by pressing Win + X and selecting Device Manager.
- Expand the categories and locate any devices with a yellow exclamation mark indicating a driver issue.
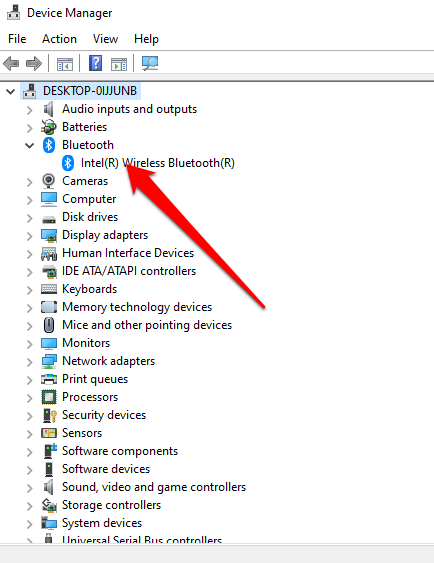
- Right-click on the device and select Update driver.
- Choose to search automatically for updated driver software.
- Follow the on-screen instructions to install the latest drivers.