Signed EXE – Simplified Steps
This article outlines the simplified steps for creating a signed EXE file, ensuring the safety and security of your software.
- Download and install the Exe and Dll File Repair Tool.
- The software will scan your system to identify issues with exe and dll files.
- The tool will then fix the identified issues, ensuring your system runs smoothly.
What is an EXE File and Why Should You Sign It?
An EXE file is an executable file that runs a program on Windows. Signing an EXE file adds a digital signature to verify that it comes from a trusted source. This is important to protect against malware and data breaches. To sign an EXE file, you’ll need a code signing certificate, which verifies your identity and binds it to the code. Purchase a code signing certificate from a reputable provider like AboutSSL or DigiCert. Use the SignTool.exe tool in the Developer Command Prompt to sign your EXE file with the appropriate algorithm option. Choose from options like OV, EV, or phone verification. Once signed, end users can verify the digital signature and trust that the application is safe to run.
Is Signing an EXE File Safe and Secure?
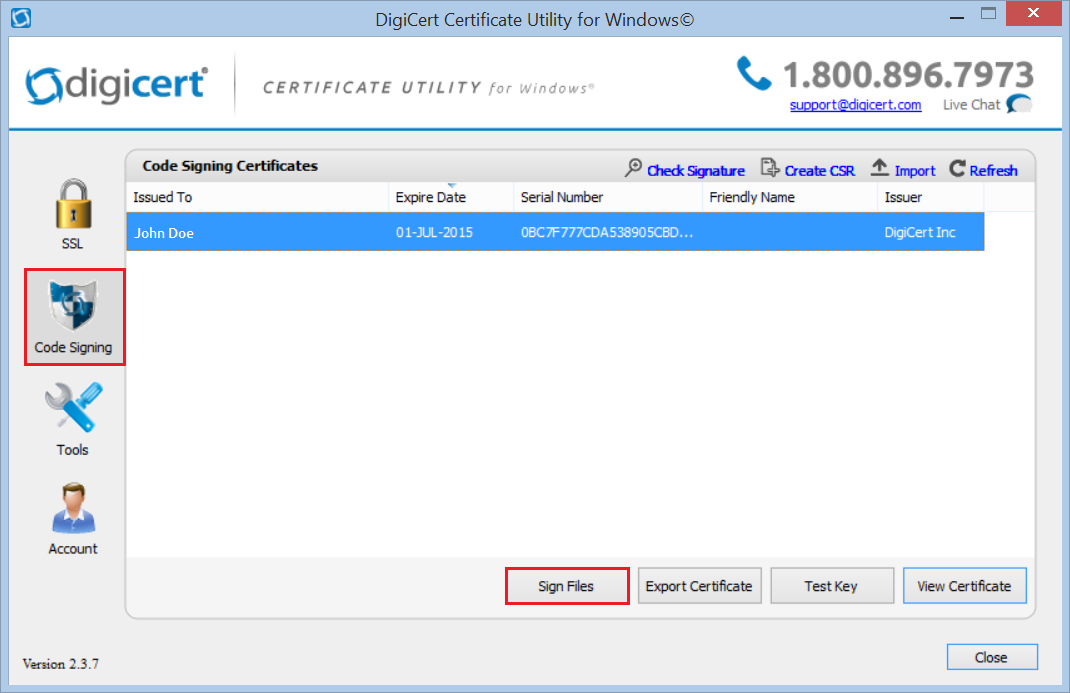
Signing an EXE file with a code signing certificate helps ensure that the file is safe and secure for end users. To sign an EXE file, use the Sign Tool in Windows, which is included in the Windows SDK. Open the Developer Command Prompt and type “signtool sign /a /v /fd sha256 /tr http://timestamp.digicert.com /td sha256 MyApplication.exe” to sign the file. This ensures that the signature is validated by Windows and that the file hasn’t been tampered with. The Sign Tool can also be used to sign other types of files, such as DLL files, MSI installers, and script files. Use a reputable certificate authority, such as DigiCert, and consider using EV code signing certificates for added security.
How to Obtain a Valid Code Signing Certificate
- Choose a reputable Certificate Authority (CA) – Make sure the CA is recognized by major web browsers and operating systems.
- Generate a certificate signing request (CSR) – This is a file that contains your company details and public key, which is used to create the certificate.
- Verify your identity – You may need to provide documentation to prove your identity and ownership of the domain or organization.
- Complete the application process – Once your identity is verified, you can complete the application process and pay the fee for the certificate.

- Install the certificate – After the CA issues the certificate, you will need to install it on your server or computer.
- Sign your executable files – Use the certificate to sign your executable files, which will verify the authenticity and integrity of the software.
Tools You Need to Sign an EXE File
- Windows SDK – This includes the necessary tools for code signing.
- Certificate – You need a valid digital certificate to sign your EXE file.
- Private Key – You also need the private key associated with the digital certificate.
- Code Signing Tool – This tool is included in the Windows SDK and is used to sign the EXE file.
- Timestamping Service – This is optional but highly recommended as it adds a timestamp to the digital signature, ensuring the validity of the signature even after the certificate has expired.
How to Sign an EXE File in 5 Easy Steps
- Step 1: Obtain a digital certificate for code signing from a trusted Certificate Authority (CA).
- Step 2: Generate a private key and a public key that matches the digital certificate.
- Step 3: Use a code signing tool, such as Microsoft SignTool, to sign the EXE file with the private key.
- Step 4: Verify the digital signature on the signed EXE file to make sure it was signed correctly.
- Step 5: Distribute the signed EXE file to your users with confidence that it has not been tampered with.
Latest Update: July 2025
We strongly recommend using this tool to resolve issues with your exe and dll files. This software not only identifies and fixes common exe and dll file errors but also protects your system from potential file corruption, malware attacks, and hardware failures. It optimizes your device for peak performance and prevents future issues:
- Download and Install the Exe and Dll File Repair Tool (Compatible with Windows 11/10, 8, 7, XP, Vista).
- Click Start Scan to identify the issues with exe and dll files.
- Click Repair All to fix all identified issues.

Common Errors Associated with EXE File Signing
| Error Type | Description |
|---|---|
| Invalid Certificate | The certificate used to sign the EXE file is invalid or expired. This can happen if the certificate was not issued by a trusted Certificate Authority or if the certificate has expired. |
| Incorrect Timestamp | If the timestamp on the signed EXE file is incorrect, it can cause issues with verification. This can happen if the timestamp server used to sign the file is not synchronized with the system clock. |
| Incorrect Hash | If the hash of the signed EXE file does not match the hash of the original file, it can indicate that the file has been tampered with. This can happen if the file was modified after it was signed or if the signing process did not correctly calculate the hash of the file. |
| Unsigned Dependencies | If the signed EXE file has dependencies that are not signed, it can cause issues with verification. This can happen if the dependencies were not signed or if the signing process did not correctly sign the dependencies. |
| Missing Timestamp | If the signed EXE file does not have a timestamp, it can cause issues with verification. A timestamp is used to indicate when the file was signed, and without it, the file may appear to be invalid or expired. |
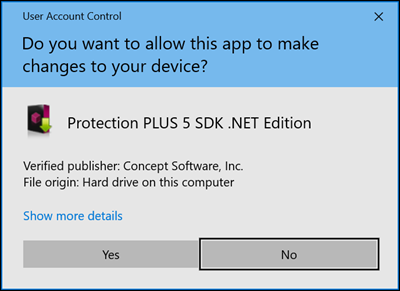
How to Fix Errors with Windows Displaying “Unknown Publisher” Warning
- Check if the file is digitally signed – Right-click on the file and select “Properties,” click on the “Digital Signatures” tab, and check if the signature is valid.
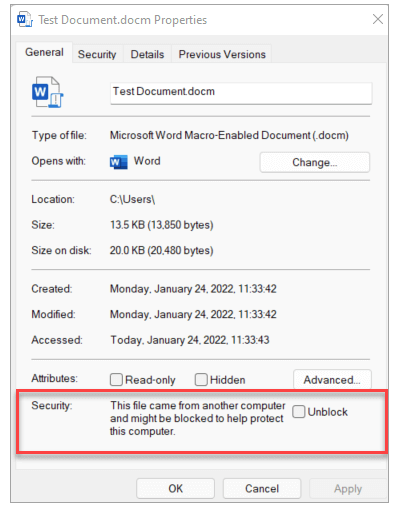
- Unblock the file – If the file is blocked, go to the “General” tab in the file’s properties, and click on “Unblock.”
- Add the publisher to your trusted list – Click on “More Info” in the “Unknown Publisher” warning, then click on “Run Anyway” and add the publisher to your trusted list.
- Disable User Account Control (UAC) – Go to the Control Panel, click on “User Accounts,” then “Change User Account Control settings,” and move the slider to “Never Notify.”
Troubleshooting the Digital Signature Tab in File Properties Window
- Check if the file is signed: Sometimes, the digital signature tab may not appear if the file is not signed. Check if the file has a digital signature by right-clicking the file and selecting properties. If the digital signature tab is not present, the file is not signed.
- Ensure the file is not corrupted: A corrupted file may cause issues with the digital signature tab. Run a virus scan on the file and ensure it is not corrupted.
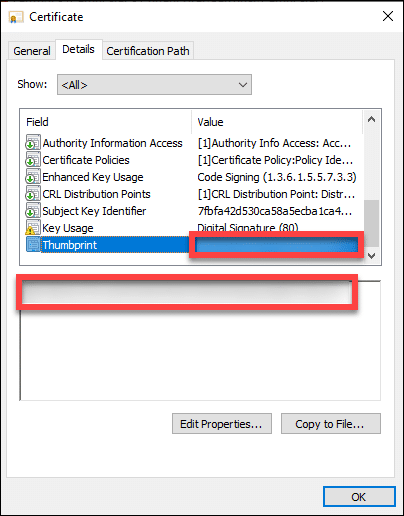
- Verify the certificate: Check if the certificate used to sign the file is valid. If the certificate has expired or is not trusted, the digital signature tab may not appear.
- Update your operating system: The digital signature tab may not work properly if your operating system is outdated. Ensure your operating system is up-to-date.
- Check if your user account has necessary permissions: If your user account does not have the necessary permissions, the digital signature tab may not be visible. Ensure that your user account has the necessary permissions to access the digital signature tab.
- Try opening the file in a different program: Sometimes, the digital signature tab may not appear when opening a file in a specific program. Try opening the file in a different program to see if the digital signature tab appears.

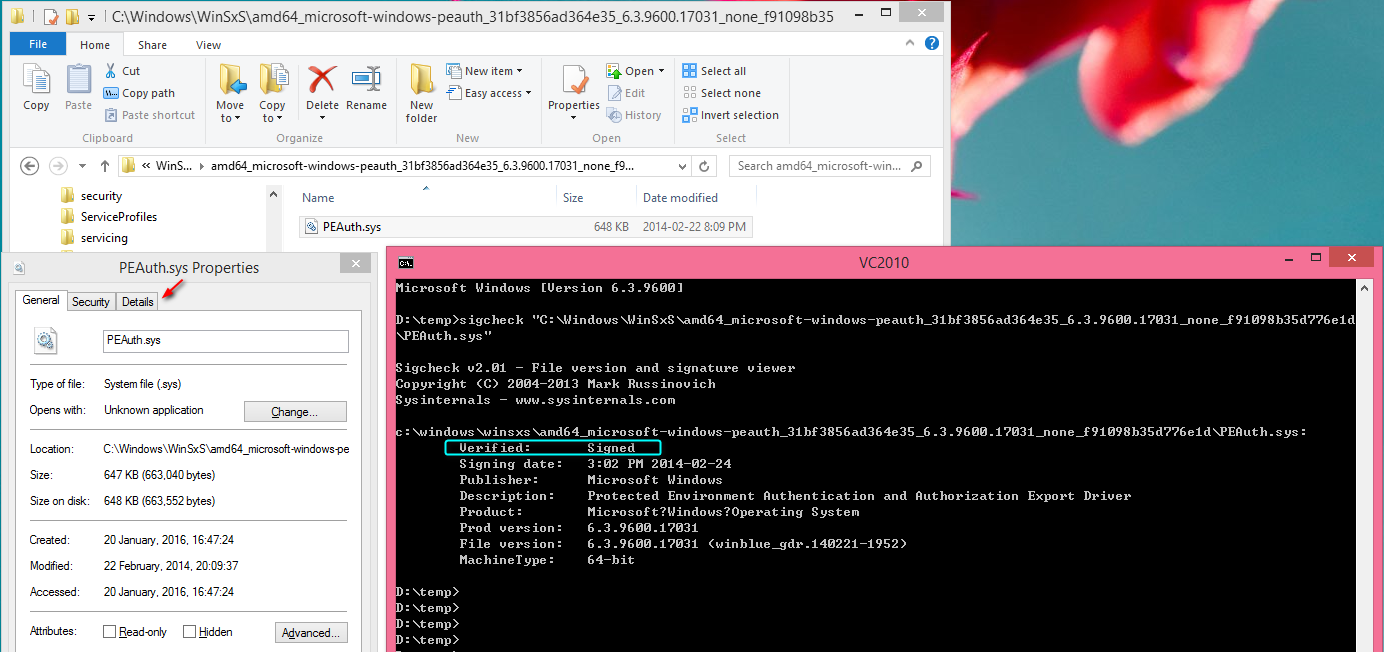
Testing Your Signed EXE File
To test your signed EXE file, open the command prompt and navigate to the directory containing your signed executable. Use the ‘signtool verify /pa [filename].exe‘ command to check the signature validation of the file. It’s important to use the ‘/pa’ option as it validates the signature chain and confirms that the certificate used to sign the EXE is still valid.
If the signature validation fails, check that you used the correct certificate to sign the file, and that it has not expired. Additionally, ensure that the certificate is issued by a trusted Certificate Authority, such as DigiCert or AboutSSL.
For Windows 10 executable files, you can also use the ‘SignTool.exe sign /f [path to certificate file] /p [password] /tr http://timestamp.digicert.com [filename].exe‘ command to sign your program. This is an effective way to validate your code signing certificate and protect your applications from data breaches and attacks.
Best Practices for Safeguarding Private Keys and Integrating Code Signing Practices
| Best Practices for Safeguarding Private Keys and Integrating Code Signing Practices |
|---|
| 1. Use a Hardware Security Module (HSM) Storing private keys in a HSM provides an added layer of protection against theft or compromise. |
| 2. Limit Access to Private Keys Only authorized personnel should have access to private keys. Access should be restricted using strong authentication mechanisms. |
| 3. Use Strong Passwords All private keys should be protected with strong passwords that are changed regularly. |
| 4. Regularly Rotate Keys Regularly rotating keys helps to reduce the risk of compromise. |
| 5. Use Multi-Factor Authentication Multi-factor authentication provides an additional layer of security to protect private keys. |
| 6. Use Code Signing Certificates from Trusted Sources Code signing certificates should be obtained from reputable and trusted sources. |
| 7. Use Time Stamping Time stamping helps to ensure that code signatures remain valid even after the code signing certificate expires. |
| 8. Verify Code Signatures Always verify code signatures to ensure that the code has not been tampered with. |
| 9. Use Secure Delivery Mechanisms Code should be delivered using secure mechanisms to prevent tampering or interception. |
Conclusion: Final Thoughts on EXE File Signing
In conclusion, signing your Windows exe files is a necessary step to ensure their authenticity and security. By following the simplified steps of using SignToolexe and signtool exe commands, you can sign your applications with ease. Remember to choose the right certificate option, such as OV or Developer ID, and consider using FIPS and attack mitigation solutions for added protection.
If you’re a programmer using Visual Studio, you can sign your msi installer and dll file with the digicert certificate utility. And don’t forget to verify your phone number for added trust in your digital identity.
While there may be different options and frameworks available, the same code signing sensei principles apply. And while the price of signing may vary, the value it brings to your applications is priceless.
So, whether you’re an individual developer or a large corporation, take the necessary steps to digitally sign your applications. Your customers will thank you for it.